







If a site looks broken, loads slowly, or keeps showing you yesterday’s version of a page, clearing the cache is usually the fix people reach for first. It’s a simple job in every major browser, but the menus move around, and it’s easy to confuse cache with cookies or history — three very different kinds of stored data with three very different consequences when you delete them.
This guide walks through clearing cache in Chrome, Edge, Firefox, and Safari on desktop, iPhone, and Android, and explains exactly what each type of data does before you delete it. It also covers something people often assume incorrectly: clearing your cache does not bring back tabs you’ve closed. If tab loss is really what you’re worried about, that’s a separate problem with a separate fix, and we’ll get to it near the end.
Quick Answer: How to Clear Browser Cache by Browser and Situation
The short version: every browser hides cache-clearing inside its privacy or history settings, and you can usually clear cache alone without touching cookies or history.
| Browser | Where to Go | Notes |
|---|---|---|
| Chrome (desktop) | Menu (⋮) > Delete browsing data | Ctrl + Shift + Delete opens it directly on Windows/Linux |
| Chrome (Mac) | Menu (⋮) > Delete browsing data | Cmd + Shift + Delete opens it directly |
| Edge (Windows) | Settings > Privacy, search, and services > Clear browsing data now | Turn sync off first to clear only this device |
| Firefox (desktop) | Settings > Privacy & Security > Cookies and Site Data > Clear Data | Check only “Cached web content” to skip cookies |
| Safari (Mac) | Safari > History > Clear History | Also check Manage Website Data for single sites |
| Safari (iPhone/iPad) | Settings app > Apps > Safari > Clear History and Website Data | Clears cache, cookies, and history together, not separately |
| Chrome (Android/iOS) | Menu (⋮) > Delete browsing data | Default time range on mobile is 15 minutes |
Full steps for each browser are below, along with what “cache,” “cookies,” and “history” actually mean before you start unchecking boxes.
What’s the Difference Between Cache, Cookies, and History?
Cache, cookies, and history are three separate categories of stored browsing data, and clearing one doesn’t touch the others unless you select multiple. Understanding which is which will save you from clearing more than you meant to, or less.
Cache is a local copy of page assets (images, scripts, stylesheets) that your browser keeps so pages you’ve visited before open faster on the next visit. Chrome describes it plainly: the browser “remembers parts of pages to help them open faster,” and clearing it removes those text and image fragments. Deleting cache doesn’t log you out of anything; it just means the next load of a page might take a moment longer while the browser rebuilds its local copy.
Cookies and other site data are different. This is where a website stores your sign-in state, your cart contents, your language preference, and similar small pieces of information tied to your account or session. Microsoft’s own definition calls cookies “information and data that websites store on your device to remember your preferences, such as sign-in info, your location, or media licenses.” Clear these and you’ll be signed out of most sites you were logged into.
Browsing history is simpler still. It’s just the list of URLs you’ve visited, with timestamps, plus things like address bar predictions built from that list. Clearing history doesn’t affect your login state or cached files at all.
Clear cache, keep everything else. In every browser here, you can check “cached images and files” (or the equivalent) alone and leave cookies and history unchecked. That clears storage and fixes stale pages without signing you out of a single site.
None of these three categories has anything to do with your open tabs. That distinction matters enough that we’ve given it its own section further down, because it’s the single most common assumption people get wrong when they go looking for a “clear cache” button.
How Do I Clear My Browser Cache in Chrome?
Open Chrome’s menu, choose “Delete browsing data,” select “Cached images and files,” pick a time range, and confirm. That’s the whole process, and it works the same way on Windows, Mac, and Linux.
- Open the three-dot menu. It’s in the top right corner of the Chrome window.
- Choose “Delete browsing data.” This opens a dialog with checkboxes for different data types.
- Select only “Cached images and files.” Leave “Browsing history” and “Cookies and other site data” unchecked unless you want those removed too.
- Pick a time range and confirm. Chrome’s dialog offers ranges like “Last hour” or “All time”; select one, then click “Delete data.”
You can also jump straight to this dialog with Ctrl + Shift + Delete on Windows and Linux, or Cmd + Shift + Delete on Mac. That shortcut is listed on Chrome’s official keyboard shortcuts page.
If you’re signed in to Chrome, know that clearing browsing data also removes the matching data from your Google Account and any other devices synced to it, according to Google’s support documentation. A few things Chrome’s dialog will not touch, no matter which boxes you check: your search and Google activity (managed separately through My Activity), extension data, and saved passwords or passkeys, which live in Google Password Manager. On Android, deleting cookies while signed in to Chrome doesn’t sign you out of your Google Account itself. You’d need to sign out of Chrome for that.
No basic/advanced tabs. Older versions of this dialog split options into “Basic” and “Advanced” tabs. Chrome’s current help page doesn’t describe that split, so if your layout looks different from an old screenshot, that’s expected — just work through the checkboxes shown.
If you use several extensions and haven’t reviewed them recently, it’s worth also checking the Chrome Web Store guide on finding and vetting what’s installed, since cache issues sometimes trace back to a misbehaving extension rather than stale data.
How Do You Clear Browser Cache in Edge?
In Edge, go to Settings, then Privacy, search, and services, and select “Clear browsing data now.” From there you choose what to clear and confirm, similar to Chrome’s flow since both are Chromium-based.
- Open Settings and more. Click the three-dot icon (⋯) in the top right, then choose Settings.
- Go to Privacy, search, and services. Scroll to “Clear browsing data now” and select “Choose what to clear.”
- Pick a time range and data types. Choose a range from the dropdown, then check “Cached images and files” (and any other categories you want cleared).
- Select “Clear now.” This applies the deletion immediately.
One setting worth knowing about before you clear: if Edge sync is turned on, clearing data can apply across all your synced devices, not just the one in front of you. Turn sync off first if you only want to clear the current device. Cloud-synced data is also managed separately through Microsoft’s privacy dashboard — deleting something there doesn’t remove it from your device, and clearing it on your device doesn’t remove it from the cloud copy.
Edge’s dialog defines cached images and files as “copies of pages, images, and other media content stored on your device… to load content faster the next time you visit those sites” — the same idea as Chrome’s cache, just worded a bit differently. Edge also lists a Media Foundation data category that clears automatically on restart, and keeps download history as a list-only deletion that doesn’t touch the actual downloaded files.
How Do I Clear Firefox Browser Cache?
In Firefox, open the menu button, go to Settings, then Privacy & Security, and use the “Clear Data” button under Cookies and Site Data, checking only “Cached web content.” This keeps your cookies and saved logins intact while removing stored page files.
Firefox gives you a couple of different paths depending on how targeted you want to be:
- Clear cache for everything: Menu button > Settings > Privacy & Security > Cookies and Site Data section > “Clear Data…” > set “When” to Everything > check only “Cached web content” (uncheck cookies and site data if you want cache only) > Clear.
- Clear cache via History: Menu button > History > “Clear Recent History…” > set the time range to Everything > select only Cache > Clear Now.
- Auto-clear cache every time you quit: Settings > Privacy & Security > History > set “Firefox will” to “Use custom settings for history” > check “Clear history when Firefox closes” > click Settings… next to it > check only Cache > OK.
If you only want to remove cookies for one specific site rather than clearing anything sitewide, click the padlock icon in the address bar and choose “Clear Cookies and Site Data”. That’s scoped to the page you’re currently on.
Separating cache from cookies in Firefox. The Cookies and Site Data panel handles both types, but the checkboxes let you clear “Cookies and site data” and “Temporary cached files and pages” independently. Uncheck cookies if you just want the cache gone.
For anyone using Firefox as a daily browser, our Firefox tabs guide covers the settings and shortcuts side of things, which pairs well with knowing how to manage stored data.
How Do I Clear Browser Cache in Safari on Mac?
In Safari on Mac, clearing cache in the classic sense happens through Safari > Settings > Privacy > Manage Website Data, where you can remove all site data or just specific sites. Safari doesn’t separate “cache only” from “cookies only” the way Chrome and Firefox do in their main dialog.
- Open Safari’s Privacy settings. Go to Safari > Settings > Privacy.
- Click “Manage Website Data.” This lists every site with stored data on your Mac.
- Select a site, or select all. Click “Remove” for one site, or “Remove All” to clear everything listed.
Apple’s own guidance is direct about the effect: removing website data “may sign you out of websites or change website behavior,” and it may also change or remove that same data in other apps on your Mac, since some apps share storage with Safari. If your goal is just to clear browsing history rather than site data, that’s a separate menu — Safari > History > Clear History, where you choose a time range. Clearing history removes visited pages, the back/forward list, frequently visited sites, recent searches, page icons, saved snapshots, and the downloaded-files list (not the files themselves), though it doesn’t touch independent per-site browsing histories that some sites keep on their own.
Develop menu caveat. Safari’s Develop menu has an “Empty Caches” option in many versions, but Apple’s currently reachable support pages don’t spell out its exact behavior, so treat Manage Website Data as the documented, reliable path for clearing cache on Mac.
How Do I Clear Browser Cache in Safari on iPhone or iPad?
On iPhone or iPad, open the Settings app, go to Apps, then Safari, and scroll to “Clear History and Website Data.” Confirm the timeframe, then tap “Clear History”. This is Apple’s documented step, and it clears cache, cookies, and history together in one action.
- Open Settings. Then go to Apps > Safari.
- Scroll to “Clear History and Website Data.” Tap it and confirm the timeframe when prompted.
- Tap “Clear History.” Apple’s help page confirms this clears “your browsing history, cookies, and cache files from Safari” in one step.
Unlike Chrome or Firefox, mobile Safari doesn’t offer a checkbox to clear cache alone without also clearing cookies and history. It’s one combined action. The good news: Apple explicitly states this “doesn’t change your AutoFill information,” so your saved passwords and logins stay put even after clearing.
Whether this always signs you out of every single site isn’t stated as a blanket guarantee in Apple’s documentation, though Apple separately notes that with cookies fully blocked, “you will likely not be able to sign in to a site, even when using your correct username and password” — which suggests cookie clearing and sign-out are closely linked, even if it’s not phrased as an absolute rule.
One action, three effects. Because iPhone Safari bundles cache, cookies, and history into a single “Clear History and Website Data” step, you can’t clear just the cache on mobile Safari the way you can on Mac or on Chrome for iOS. Plan for the sign-outs that come with it.
How Do I Clear Browser Cache on Android?
On Android, whether you’re using Chrome or another Chromium-based browser, the fastest way in is Chrome > More (⋮) > Delete browsing data, then tap “More options” to select cache specifically instead of clearing everything shown by default.
- Chrome for Android. Menu (⋮) > Delete browsing data > choose a time range (15 minutes is the default shown) > tap “More options” to pick cache alone, then Delete data.
- Address bar shortcut. Type “Delete browsing data” directly into the address bar and tap the Action chip that appears. It jumps straight to the dialog.
- Per-app cache clearing. Outside the browser, Android’s own Settings app lets you clear any app’s cache individually under that app’s storage settings, though Google notes the exact menu path varies by phone manufacturer.
Google’s support documentation is specific about that default: the time range shown when you open Delete browsing data on Chrome for Android starts at 15 minutes, a short window meant to avoid accidentally wiping months of data with one careless tap. You can widen it to any range up to all time.
One reassurance worth repeating here: if you delete cookies while signed in to Chrome on Android, you won’t be signed out of your Google Account. Google’s help page states that directly. To sign out everywhere, you’d need to sign out of Chrome itself, which is a separate action from clearing browsing data.
For anyone specifically trying to free up space by clearing app-level cache rather than just the browser’s, our companion post on how to delete cache on Android walks through the per-app path in more detail.
Does Clearing Cache Bring Back Closed Tabs or Delete Open Ones?
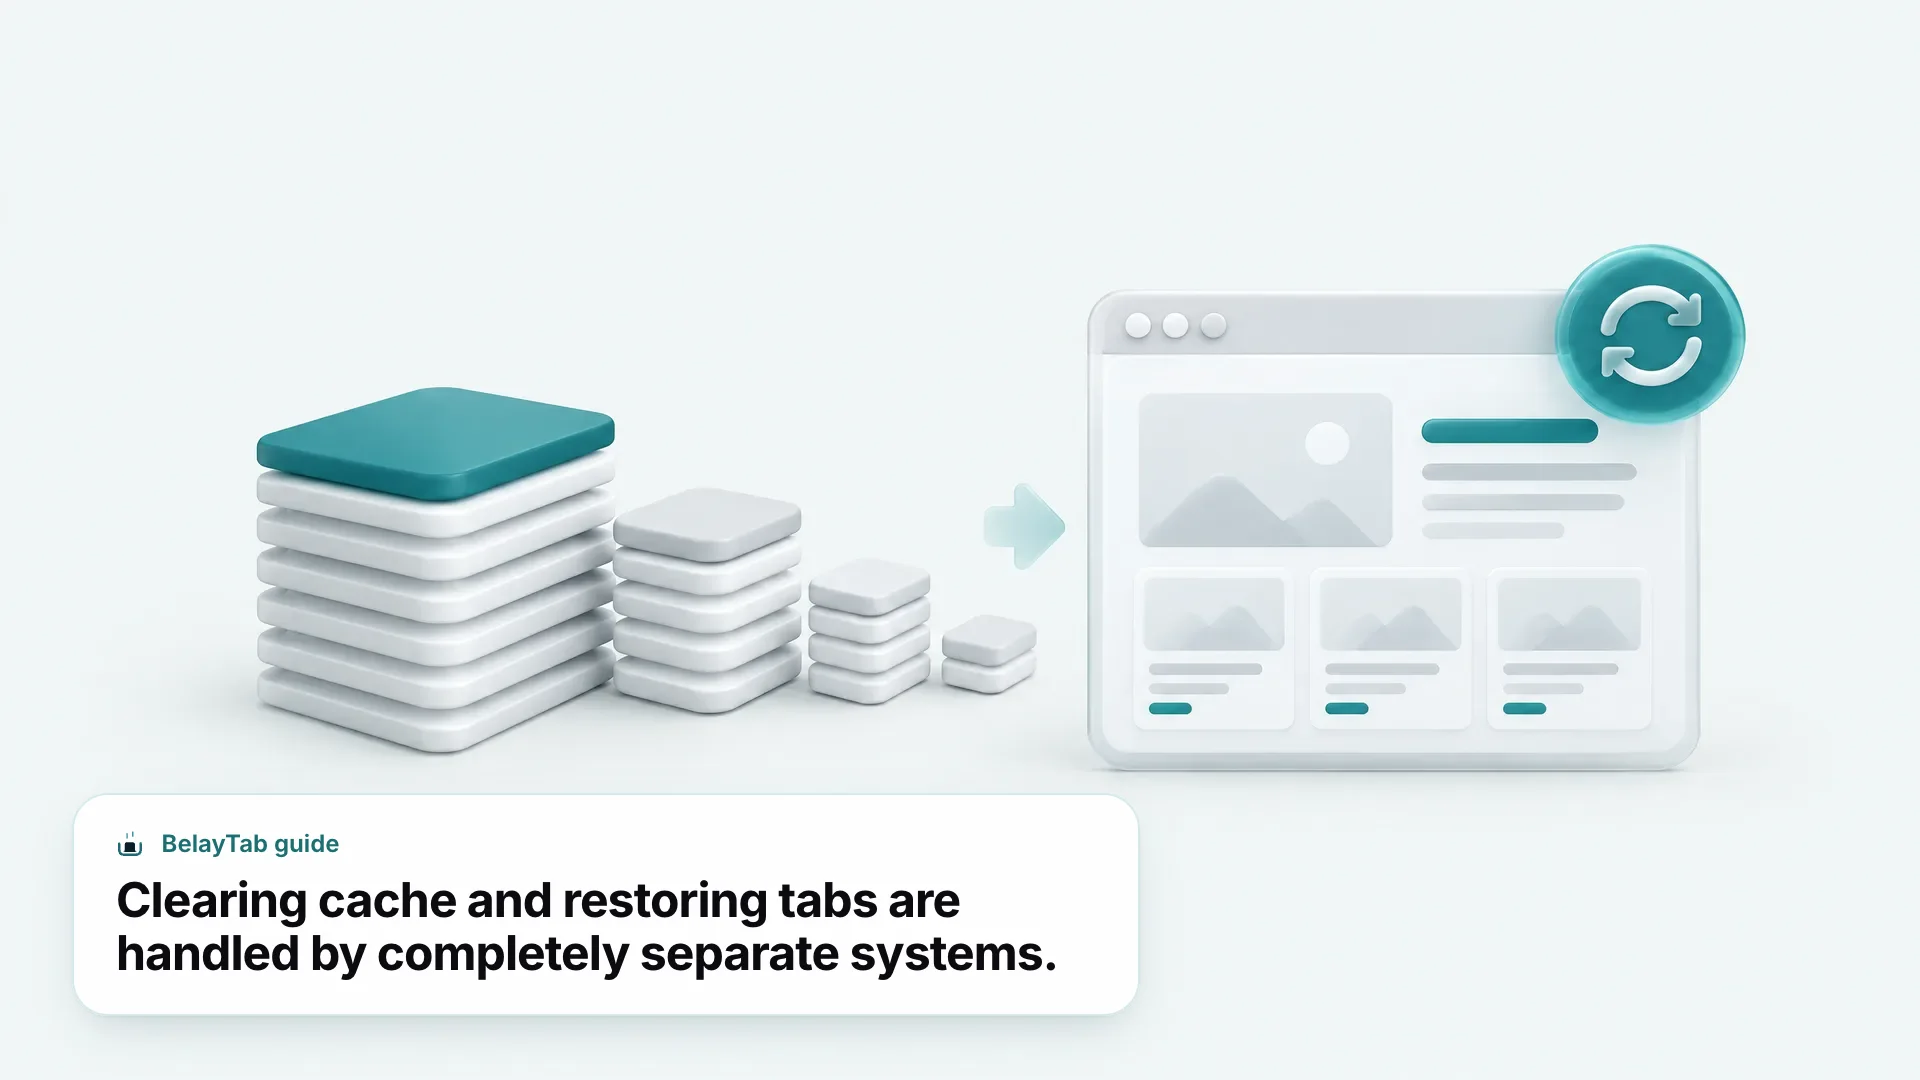
No — clearing cache, cookies, or history has no effect on your open tabs, and it will not restore tabs you’ve already closed. Tabs and windows simply aren’t a data category listed in any browser’s “clear browsing data” tool.
This is the mix-up that sends a lot of people looking for this guide in the first place. Someone closes a browser window by accident, remembers they’d recently cleared their cache, and wonders if clearing it again (or some setting nearby) might bring the tabs back. It won’t, because cache clearing and tab recovery are two entirely unrelated systems inside the browser. One manages stored files on disk; the other manages the list of pages currently loaded in memory.
What brings tabs back is your browser’s recently-closed-tabs feature, if it’s still available for that window — but that only works for a limited time and a limited number of windows, and it disappears entirely after a crash in some cases. If you closed a window days ago, or your browser crashed before you could reopen anything, the built-in recovery options often come up empty. That’s a much bigger topic than this post covers, so if it’s what brought you here, our guide on how to reopen closed tabs goes deeper on browser-specific recovery windows.
When Should You Clear Cache Instead of Doing a Hard Refresh?
Do a hard refresh first if only one page looks broken or outdated; clear the full cache only if the problem shows up across several sites or you’re troubleshooting something more persistent. A hard refresh forces the browser to bypass cache for a single reload of the current page, which fixes most “this looks stale” problems without touching anything else.
In Chrome, that’s Ctrl + Shift + R (Windows/Linux) or Cmd + Shift + R (Mac); Shift + F5 also works on Windows. It’s scoped to whatever tab you’re on, so it doesn’t touch cookies, history, or any other tab’s cached data.
| Situation | Best Fix | Why |
|---|---|---|
| One page shows old content after a site update | Hard refresh that page | Bypasses cache for just this reload, no side effects |
| Several sites feel slow or act oddly | Clear cache (cache only) | Removes stale files across all sites without logging you out |
| You need to sign out or reset a site’s remembered preferences | Clear cookies and site data | This is what actually controls sign-in state |
| You’re low on disk space | Clear cache | Cache is often the largest reclaimable category |
| A site won’t load or shows a certificate error | Clear cache and cookies for that site | Combines both fixes without wiping unrelated sites |
I’d try the hard refresh first almost every time. It’s faster, it’s reversible in the sense that nothing is deleted from other sites, and it solves the majority of “why does this page look wrong” complaints. Full cache clearing is the heavier tool, worth reaching for when the stale-content problem follows you across multiple sites rather than sitting on one page. Our hard refresh tool guide has the full shortcut list if you want it bookmarked.
Will Clearing Cache Fix a Slow or Broken Site?
Sometimes, but not always — cache clearing fixes problems caused by outdated stored files, not problems caused by your internet connection, the site’s own servers, or a misbehaving extension. It’s worth ruling those out before you assume cache is the culprit.
A genuinely stale-cache symptom looks like this: a site you use regularly suddenly shows an old layout, a broken image, or JavaScript errors right after the site pushed an update, while it works fine in a fresh incognito window. That mismatch (broken in your normal profile, fine in a clean one) is a strong signal that a hard refresh or a targeted cache clear for that one site will solve it.
Test in a private window first. Before clearing anything, open the troubled site in an incognito or private window. If it loads correctly there, the problem is almost certainly local cache or cookies on your regular profile, and clearing that site’s data specifically should fix it.
If clearing cache and cookies for the site doesn’t help, the cause is probably something else: a flaky connection, an extension interfering with the page, or an actual problem on the site’s end that no amount of local cleanup will fix. In those cases, clearing your entire cache “just in case” mostly just makes every site load a little slower for a while as caches rebuild, without solving anything.
How Do I Make Sure I Never Lose Tabs When Clearing Browser Data?
Save your open windows as a named session before you clear anything, so your tabs exist independently of whatever you delete. Clearing cache or cookies won’t touch your tabs directly, but the moment you’re already in your browser’s privacy settings is also a good moment to make sure you have a real safety net for the tabs themselves — because the things that do threaten open tabs (an accidental window close, a crash, a browser update that restarts everything) tend to happen when you least expect them.
This is exactly the gap BelayTab is built to cover. It’s a free browser extension that saves your open tabs as named sessions you can restore anytime, and it does it automatically in the background as well as on demand.
- Save your current session. Press Ctrl + Shift + S (Cmd + Shift + S on Mac), or click the BelayTab icon, and give the window a name.
- Let automatic snapshots run in the background. BelayTab captures every open window every 5 minutes and again whenever a window closes, with no action needed from you.
- Clear your cache or cookies as usual. None of BelayTab’s saved sessions live in browser cache or cookies, so clearing browsing data doesn’t affect them.
- Restore from one screen whenever you need to. The Recovery screen combines snapshots, deleted sessions, your browser’s recently closed windows, and export files in one place.
BelayTab keeps the last 20 versions of every session, so restoring never overwrites what’s there. It just adds a new version, and deleted sessions sit in a 30-day trash before they’re gone for good. It’s free with no account and no limits on sessions or tabs, works across Chrome, Edge, Brave, Opera, Vivaldi, Arc, Firefox, and Safari on Mac, and it never reads page content. It only needs permission to see your tabs, not what’s inside them. Full details on how saving and restoring work live on the save tabs and restore tabs pages, and the automatic snapshots page covers the background capture in more depth.
It’s worth being honest about the limits here too: BelayTab can’t recover tabs from before it was installed, and it won’t fix a browser that’s crashed or frozen — for that, see our guide on what to do when Chrome crashes. What it does is much narrower and more reliable: it makes sure the tabs you have open right now are backed up somewhere that clearing browsing data, closing a window, or even an accidental “close all tabs” can’t touch. Pair that with good habits around cookies and cache (covered in our companion guide to clearing browser cookies) and password hygiene from our Chrome password manager guide, and you’ve covered the three things people lose: data, logins, and the tabs themselves. You can grab the extension from the download page whenever you’re ready, and pair it with a look at Chrome’s own security settings if you’re doing a broader privacy cleanup.