






Casting from Chrome to a TV is one of those things everyone half-knows how to do until the moment it actually matters, like when you’re trying to show a slideshow on the living-room TV and the menu you swear you clicked last time isn’t where you remember. The good news: Chrome has had a built-in way to send a tab, your whole desktop, or a local file to a Chromecast or Cast-enabled TV for years, and it hasn’t moved far. This guide walks through the Google Chromecast browser feature step by step, covers the requirements people usually skip, and shows what to do when a device won’t show up in the list. Along the way we’ll also touch on what casting does and doesn’t affect when it comes to the tabs you already have open.
What Does It Mean to Cast Chrome to a TV?
Casting from Chrome to a TV means sending what’s on your screen, a single tab, your whole desktop, or a file you’ve opened in a tab, to a Chromecast, a Google TV device, or a TV with Google Cast built in, over your Wi-Fi network instead of a cable. Chrome builds this directly into the browser, so you don’t need to install an extension to use the basic version of it.
People often use “Google Chromecast browser” loosely to describe this whole feature set: the three-dot menu, the Cast option inside it, and the list of nearby devices it can find. It’s worth separating that from a site’s own cast button, like the one YouTube shows inside its player. This guide is about Chrome’s own path, which works on any tab regardless of what site you’re on.
There are three distinct things you can send from Chrome, and they behave differently once they land on the TV.
- Cast a tab. Sends just that browser tab; audio plays through the TV.
- Cast your desktop. Sends everything on screen, including other apps.
- Cast a file. Open a local video or audio file in a tab, then cast it.
Here’s a quick-reference table for the most common situations, so you can jump straight to the fix you need instead of reading the whole guide top to bottom.
| Situation | What to do |
|---|---|
| Cast one browser tab | More menu > Cast, save, and share > Cast > pick a device |
| Cast your whole screen | More menu > Cast, save, and share > Cast > Sources > Cast screen |
| Cast a local video or audio file | Open the file in a tab (drag it in, or Ctrl+O / Cmd+O), then cast that tab |
| Stop casting | Click the Cast icon in the toolbar > Stop casting |
| Casting fails on a Mac | Grant Chrome screen and local-network permission in macOS settings first |
| No device shows in the list | Confirm the computer and TV are on the same Wi-Fi network and Chrome is updated |
What Do You Need Before You Can Cast Chrome to a TV?
You need a compatible receiver, a shared Wi-Fi network, and an up-to-date Chrome browser. Skip any one of these and the Cast menu will either show no devices at all, or a device that refuses to connect.
The receiver has to be one of the devices Google documents as Cast-compatible: a Chromecast, Chromecast with Google TV, Google TV Streamer (4K), Chromecast Ultra, or a TV with Google Cast built in. If your television is a few years old and doesn’t have any of those, plugging in a small Chromecast device solves that instantly rather than trying to find a workaround in software.
The network requirement trips up more people than the hardware one. Chrome and the Cast device both need to be on the same Wi-Fi network for the device to even appear in the list, let alone connect. This is the single most common reason a Chromecast that worked yesterday suddenly seems to have vanished: a router restart, a guest network toggle, or a phone that quietly reconnected to a different band can all break this silently. Before you troubleshoot anything else, check which network your computer is joined to.
Chrome needs to be current. Casting requires an updated Chrome browser that meets Chromecast’s minimum system requirements. If casting suddenly stops working after months of no problems, an overdue browser update is worth ruling out before anything else.
Finally, on a Mac running macOS 15 or later, Chrome needs system-level screen and local-network access granted before casting will function. This is a macOS permission, not a Chrome setting, so it lives in the Mac’s own privacy settings rather than inside chrome://settings. We’ll come back to this in more detail later, since it catches a lot of Mac users off guard the first time they try to cast after a fresh macOS update.
How Do You Cast a Single Chrome Tab to a TV?
You cast a single tab by opening it, clicking the three-dot “More” menu, choosing “Cast, save, and share,” selecting Cast, and picking your device. This is the most common use case: sharing a webpage, a video, a spreadsheet, or a presentation running in a browser tab onto a bigger screen.
- Open the tab you want to share. Make sure it’s the active tab in the current window.
- Click the three-dot “More” menu. It sits in the top-right corner of the Chrome window.
- Select “Cast, save, and share.” Then choose “Cast” from the submenu.
- Pick your device. Choose the Chromecast, Google TV, or Cast-enabled TV from the list.
- Watch for the Cast icon. It appears in the toolbar to confirm the tab is casting.
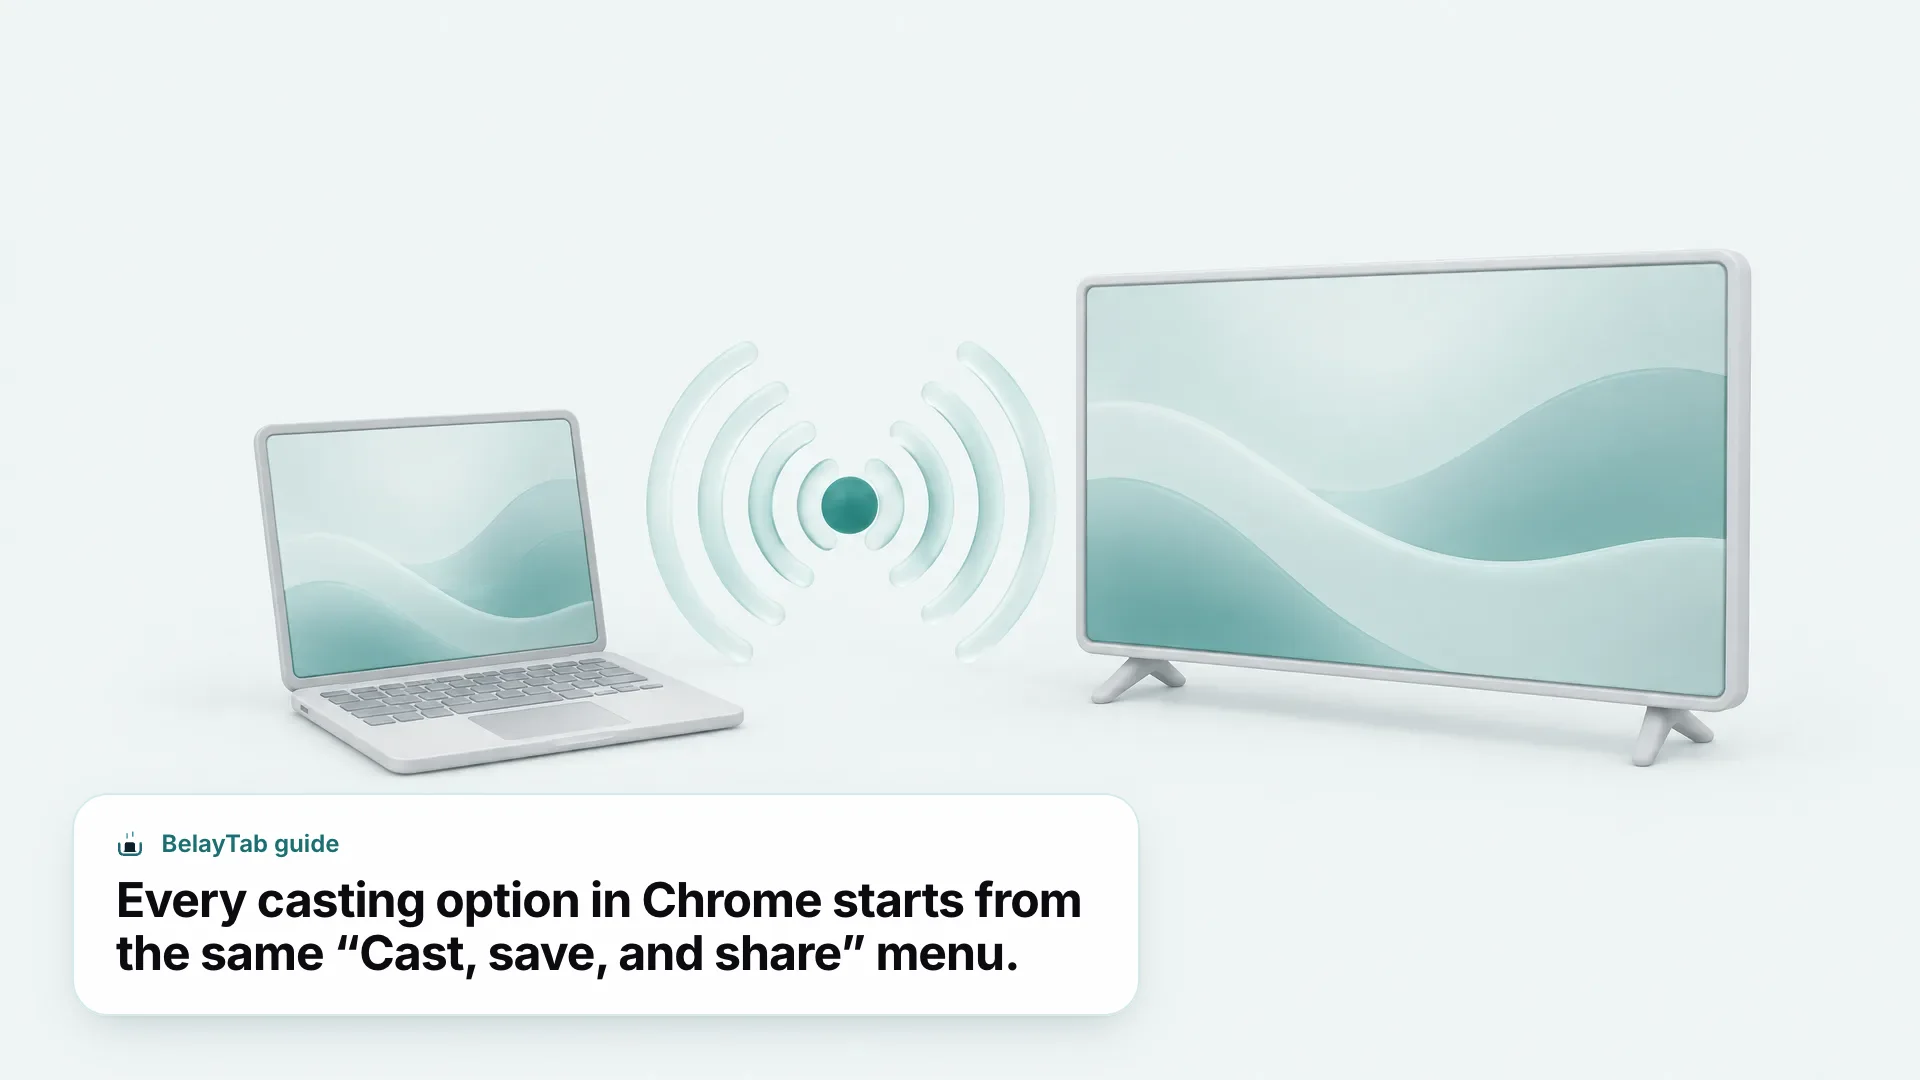
When you cast a tab, audio for that tab plays through the TV, which is the behavior most people expect and want. That’s a deliberate distinction Google draws between tab casting and full-screen casting, and it’s the reason tab casting is usually the better choice for watching a video or listening through the TV’s speakers rather than your laptop’s.
One limitation worth knowing before you rely on this for something important: some plugins, including Silverlight, QuickTime, and VLC, won’t work correctly when the tab is cast. Most modern web video doesn’t depend on these anymore, but if you’re casting an older internal tool or an embedded player built on one of them, test it ahead of time rather than discovering the problem live.
How Do You Cast Your Entire Desktop to a TV?
You cast your entire desktop by opening the same Cast menu, then choosing “Cast screen” under Sources instead of a tab. This sends everything visible on your screen, not just one browser tab, which is what you want when you need to show something outside of Chrome, like a slideshow app, a spreadsheet program, or another browser window entirely.
- Open the More menu. Click the three-dot icon in the top-right corner of Chrome.
- Choose “Cast, save, and share.” Then select Cast from the list of options.
- Open the Sources dropdown. It appears near the top of the Cast panel.
- Select “Cast screen.” This switches the cast target from a tab to your whole desktop.
- Pick your device. Choose the Chromecast or Cast-enabled TV to send your screen to.
Desktop casting is supported on Mac, Windows, and Chromebook, so this isn’t a Windows-only trick. It’s genuinely useful when you’re presenting something that lives in a different app, or when you want the audience to see your cursor move between windows during a walkthrough.
The trade-off is audio. When you cast your full screen rather than a single tab, sound commonly keeps playing from your computer instead of switching to the TV. If you’re casting a video this way and wondering why the TV is silent while your laptop speakers are working fine, that’s expected behavior rather than a bug, and it’s a good reason to prefer tab casting whenever the thing you’re sharing lives inside a single browser tab.
How Do You Cast a Local File Like a Video or Music Track?
You cast a local file by opening it inside a Chrome tab first, then casting that tab the normal way. Chrome doesn’t have a separate “cast a file” button; instead, it treats a local video or audio file the same as any web page once it’s open in a tab.
There are two ways to get a local file into a tab. You can drag and drop the file directly onto an open Chrome window, or you can press Ctrl+O (Windows/Linux) or Cmd+O (Mac) to open a file picker and select it from your folders.
- Open the file in a tab. Drag it into Chrome, or press Ctrl+O / Cmd+O and select it.
- Confirm it’s playing in the tab. You should see the video or audio controls load like any other page.
- Cast the tab. Use the same More menu > Cast, save, and share > Cast path as any other tab.
- Choose your device. Pick the Chromecast or Cast-enabled TV from the list.
This is a handy trick for a downloaded video that isn’t already on a streaming service, or a music file sitting in your Downloads folder that you’d rather play through TV speakers than a laptop’s. Because it’s just a tab once it’s open, the same plugin limitations apply: files that depend on Silverlight, QuickTime, or VLC playback won’t behave correctly once cast.
How Do You Stop Casting From Chrome?
You stop casting by clicking the Cast icon that appears in the toolbar while a tab or screen is active, then selecting “Stop casting.” The icon only shows up once something is actively being cast, so if you don’t see it, nothing is currently casting from that window.
This works the same way regardless of whether you started with a tab, your desktop, or a local file, since all three use the same underlying Cast session once they’re running. Clicking Stop casting ends the connection to the receiver and returns your TV to whatever it was doing before, usually its home screen or the last app that was open.
One detail that surprises people: stopping a cast does not close the tab or file you were casting. The tab stays open in Chrome exactly as it was; only the connection to the TV ends. If you were casting your full desktop, the same applies, your computer keeps running normally and the only change is that the TV stops mirroring it.
If you have multiple tabs casting at once, or you switch which tab is casting partway through, the Cast icon reflects whatever is currently active. Clicking it shows the current session and gives you the option to stop it, switch devices, or in some cases add a second output, depending on what Chrome’s Cast panel offers at the time.
Closing the tab also ends the cast. Closing the browser tab that’s actively casting will end the cast session automatically, since there’s nothing left to send. If you want the TV to keep showing something, cast the tab you plan to keep open, not one you’re about to navigate away from or close.
Why Isn’t Chrome Casting to My TV?
Chrome usually fails to cast because of a network mismatch, an outdated browser, or a missing system permission, not because the feature itself is broken. Working through these in order clears up the overwhelming majority of cases.
Start with the network. Confirm your computer and the TV or Chromecast are joined to the exact same Wi-Fi network, including the same band if your router splits 2.4GHz and 5GHz into separate network names. A device on a guest network or a different band simply won’t appear in Chrome’s device list, and there’s no error message explaining why, it just looks empty.
Next, check that Chrome is updated to a version that meets Chromecast’s minimum system requirements. An old, un-updated Chrome install is a common and easy-to-miss cause, especially on a shared or work computer where updates get postponed repeatedly.
If you’re on a Mac running macOS 15 or later, verify Chrome has been granted system-level screen and local-network access in macOS’s own privacy settings. Without that permission, casting can fail silently or the device list can come up empty even though the network and Chrome version are both fine.
Some plugins won’t survive the cast. If a cast tab shows a blank area or a broken player where video should be, check whether that content depends on Silverlight, QuickTime, or VLC. These are documented as not working once a tab is cast, and no amount of network troubleshooting will fix that.
If all three of those check out and a device still won’t show up, restarting the Chromecast device itself (unplugging it for a few seconds) resolves a surprising number of stubborn cases, since the receiver’s own Wi-Fi connection can get into a stale state independent of anything on the computer side.
Tab Casting vs Desktop Casting: Which Should You Use?
Tab casting is the better default for anything that lives inside a single browser tab, while desktop casting is for everything else. Knowing the difference up front saves a round trip of trying one, getting confused by the audio behavior, and switching to the other.
| Tab casting | Desktop/screen casting | |
|---|---|---|
| What it sends | Just that one browser tab | Everything visible on your screen |
| Audio | Plays through the TV | Often stays on the computer |
| Best for | A single video, page, or presentation in Chrome | Non-Chrome apps, multiple windows, live demos |
| Platform support | Any device Chrome’s Cast feature supports | Confirmed on Mac, Windows, and Chromebook |
| Known limitation | Silverlight, QuickTime, and VLC-based content won’t work | Same plugin limitation applies once cast |
If you’re deciding which one to reach for, ask whether what you’re showing exists entirely inside a Chrome tab. A YouTube video, a Google Slides presentation, or a web-based dashboard all fit tab casting cleanly. A native app, a comparison between two different programs, or something you’re switching between constantly calls for desktop casting instead, with the understanding that you’ll likely need to unmute your laptop or plug in external speakers if audio matters.
There’s also a practical performance angle worth mentioning honestly: casting a single tab tends to be the more reliable of the two simply because it’s sending less data and fewer moving parts than mirroring an entire screen. If you’ve had a shaky experience with full-screen casting in the past, switching to tab casting for anything that can be done that way is a reasonable first thing to try.
Does Chromecast From Chrome Work the Same on a Mac?
Mostly yes, with one extra permission step that Windows and Chromebook users don’t need to think about. The core Cast menu, the tab and screen casting options, and the requirement for a shared Wi-Fi network are all the same across platforms.
The difference shows up on macOS 15 and later, where Chrome needs system-level screen and local-network access granted before casting will work at all. This isn’t a Chrome setting hidden in chrome://settings, it’s a macOS system permission, similar to the kind of prompt you’d see for screen recording or microphone access from any other app.
If you’ve recently updated macOS and casting that used to work suddenly stops, this permission is the first place to check, since a major macOS update can sometimes reset permissions that were previously granted. Once it’s granted again, the rest of the casting flow, the three-dot menu, Cast, save, and share, and the device list, behaves exactly the same as it does on Windows.
Desktop casting itself is explicitly supported on Mac alongside Windows and Chromebook, so there’s no feature gap there either. The practical takeaway for Mac users: if a Chromecast device simply won’t appear or a cast attempt fails without explanation, check the macOS permission before assuming the network or the Chromecast device is at fault.
What Should You Do If a Chromecast Device Doesn’t Show Up at All?
An empty device list almost always means the network requirement isn’t being met, so that’s the first thing worth ruling out rather than reinstalling anything. Chrome only lists devices it can see on the local network, and a surprising number of home networks are more fragmented than people realize.
Double-band routers are the most common trap. Many routers broadcast a 2.4GHz and a 5GHz network under either the same name or two different ones, and a Chromecast or TV can end up connected to a different band than the computer without anyone noticing. If your device list is empty, check the exact network name your computer shows in its Wi-Fi settings and compare it to what the Chromecast setup app (or the TV’s own network settings) reports.
Guest networks cause the identical problem in a different disguise. If your computer is on the guest Wi-Fi and the Chromecast is on the main network, they’re isolated from each other by design, and no amount of Chrome troubleshooting will fix that, since it’s a router-level setting.
If the network genuinely matches and the device still won’t appear, an outdated Chrome install is the next most likely cause, since casting requires meeting Chromecast’s minimum system requirements. Checking for and installing a pending Chrome update is a low-effort step that fixes this more often than it should.
What About Casting From Other Browsers Like Edge or Firefox?
This guide focuses specifically on Chrome’s own built-in Cast menu, since that’s the feature documented under the Google Chromecast browser umbrella. If you regularly work across Edge, Firefox, or Brave as well as Chrome, it’s worth knowing that casting behavior and menu wording can differ between browsers, and jumping between them to find a Cast option that isn’t there is a common source of frustration.
Rather than guess at menu paths for browsers not covered by Chrome’s own documentation, the more practical habit is this: if casting is a regular part of your workflow, standardize on doing it from Chrome, since that’s the browser where the “Cast, save, and share” path is confirmed and consistent. Switching browsers just to cast something is rarely worth the friction if Chrome is already installed on the same machine.
Where this does matter is if you’re someone who keeps different projects in different browsers, one for work in Chrome, one for personal browsing in Firefox, say. Casting from the “wrong” browser window because that’s where a tab happens to be open is an easy mistake, and it’s part of a broader pattern worth paying attention to: knowing which browser and which window has the tab you need, especially once you’re juggling a presentation, a video, and a handful of reference tabs at the same time.
What Happens to Your Tabs During and After a Casting Session?
Casting a tab or your desktop has no effect on your other open tabs; they stay exactly where they were before you started. The risk isn’t casting itself, it’s everything that tends to happen around it: closing tabs to declutter before a screen share, restarting Chrome because it’s acting sluggish mid-presentation, or simply losing track of which window had the tab you needed once the TV is showing something else.
This is where the gap between “Chrome works fine” and “you kept what you needed” shows up. Chrome’s own Chrome Sync carries bookmarks and history between signed-in devices, but it was never built to protect a specific window of open tabs the way a dedicated session tool is. If Chrome crashes or you accidentally close the wrong window while getting ready to cast, the built-in recovery options are limited, as covered in our guide on how to restore tabs in Chrome after closing or crashing.
BelayTab fills that specific gap without touching how casting itself works. It runs quietly in the background, taking an automatic snapshot of every open window every 5 minutes and whenever a window closes, with no account required and no limit on how many sessions or tabs you keep. If you close a window full of reference tabs right before a cast and realize five minutes later you needed one of them, it’s sitting in the Recovery screen alongside your browser’s own recently closed windows, not gone.
One click before you start. Before a big casting or screen-sharing session, hitting Ctrl+Shift+S (Cmd+Shift+S on Mac) to save the current window as a named BelayTab session takes a few seconds and means nothing you had open is at risk if the browser needs a restart mid-presentation.
Press Ctrl + Shift + S (Cmd + Shift + S on Mac) to save the current window as a session at any point.
None of this changes anything about how Chrome’s Cast, save, and share menu behaves. BelayTab doesn’t start, stop, or interact with a cast in any way, and it can’t recover tabs that were open before it was installed. What it does is remove the anxiety of closing windows or restarting Chrome around a casting session, since the tabs you had are always one click away in Recovery rather than dependent on remembering to reopen them manually. For anyone who casts often enough that a lost tab costs time, that’s a small habit that pays for itself the first time it matters. You can see how sessions, versions, and the Recovery screen fit together on the restore tabs feature page, or grab the extension from the download page if you want it running before your next presentation.