






You manage Chrome extensions from one page, and most people never find it because it hides behind a small puzzle-piece icon. That’s the whole trick: click the icon, or type chrome://extensions into the address bar, and every extension you’ve ever installed is sitting there waiting for you to turn it on, turn it off, or throw it out. This guide walks through the real controls — pinning icons to the toolbar, disabling instead of deleting, limiting what a nosy extension can see, and clearing out anything that stopped working when Chrome shut off older extensions in 2026. None of it needs Developer mode or technical know-how. It’s a few minutes of clicking, and by the end you’ll know exactly where your chrome extensions page lives and how to keep the icons you actually use where you can see them.
Where Do I Manage My Chrome Extensions?
You manage every Chrome extension from one screen: chrome://extensions, which you can also open by clicking the puzzle-piece icon in the toolbar and choosing “Manage extensions.” That’s the whole chrome extensions page — no separate settings for install, pin, disable, or remove.
If you’ve been hunting for “my chrome extensions” and coming up empty, it’s almost always because the puzzle-piece icon got buried. Chrome shows it by default on the right side of the address bar, but if you’ve customized your toolbar or it’s hidden behind an overflow menu, it’s easy to miss. Once you click it, you’ll see every installed extension in a dropdown, with a pin icon next to each one.
The table below is a shortcut for whatever you’re trying to do — treat it as a map, then jump to the matching section for the details.
| I want to… | Where to go |
|---|---|
| See everything I’ve installed | chrome://extensions or the puzzle-piece icon > Manage extensions |
| Show an icon in the toolbar | Puzzle-piece icon > click the pin next to the extension |
| Turn an extension off temporarily | chrome://extensions > toggle the switch on its card |
| Delete an extension | Right-click its icon > Remove from Chrome, or Remove on its card |
| Limit what sites it can touch | chrome://extensions > extension’s card > Details > site access |
| Use it in Incognito windows | Details > turn on “Allow in incognito” |
Incognito and Guest mode block new installs. You can’t add a new extension while browsing in an Incognito window or as a Guest. Switch to a regular window first, install it there, then come back and allow it in Incognito if you need it.
How Do I Open the Chrome Extensions Page?
Open chrome://extensions by typing it into the address bar and pressing Enter, or by clicking the puzzle-piece icon and choosing “Manage extensions.” A third route works too: click the three-dot Chrome menu, then More Tools, then Extensions.
All three paths land on the exact same page, so use whichever is fastest for you. If you live in the address bar anyway, typing the URL is quicker. If you’re already digging through menus looking for settings, the puzzle-piece icon is right there and doesn’t require remembering a URL.
Once you’re on the page, each extension appears as its own card: name, short description, and a toggle switch on the right. This is also where Developer mode lives, tucked in the top-right corner — flip it on and a “Load unpacked” button appears, letting you install an extension folder straight from your computer rather than the Chrome Web Store. Most people never need this; it’s built for testing extensions before they’re published.
- Click the puzzle-piece icon. It sits at the right end of the address bar, next to your profile picture.
- Choose “Manage extensions.” This opens chrome://extensions in a new tab.
- Scan the cards. Each one shows the extension’s name, a toggle, and options for Details and Remove.
If the puzzle-piece icon isn’t showing at all, it usually means you have zero extensions installed, or Chrome’s toolbar layout has changed after an update. Typing chrome://extensions directly always works regardless.
How Do I Pin an Extension So I Can Find It in the Toolbar?
Pin an extension by clicking the puzzle-piece icon, then clicking the pin next to the extension’s name — its icon then moves out to the toolbar permanently. This is the fix for the common complaint of installing something and then immediately losing track of it.
By default, new extensions install into that puzzle-piece dropdown rather than the visible toolbar. That’s sensible on Chrome’s part (nobody wants twenty icons cluttering the top of the window) but it means the extension you just installed to, say, block ads or fill passwords isn’t obviously “there” unless you go looking. Pinning solves that in one click.
To unpin something later, either right-click its toolbar icon and choose “Unpin,” or go back into the puzzle-piece menu and click the pin again to toggle it off. Neither action disables or removes the extension. It just moves the icon back into the dropdown, out of the way.
Pin only what you use daily. If you install extensions to test them, leave them unpinned until you’re sure you’ll keep using them. A toolbar with six pinned icons you click beats one with twenty you’ve stopped noticing.
A related question people search is “chrome extensions page” pinning versus permissions — pinning is purely cosmetic. It changes where the icon sits, not what the extension can see or do. For that, you want the site access settings covered further down.
How Do I Enable or Disable an Extension?
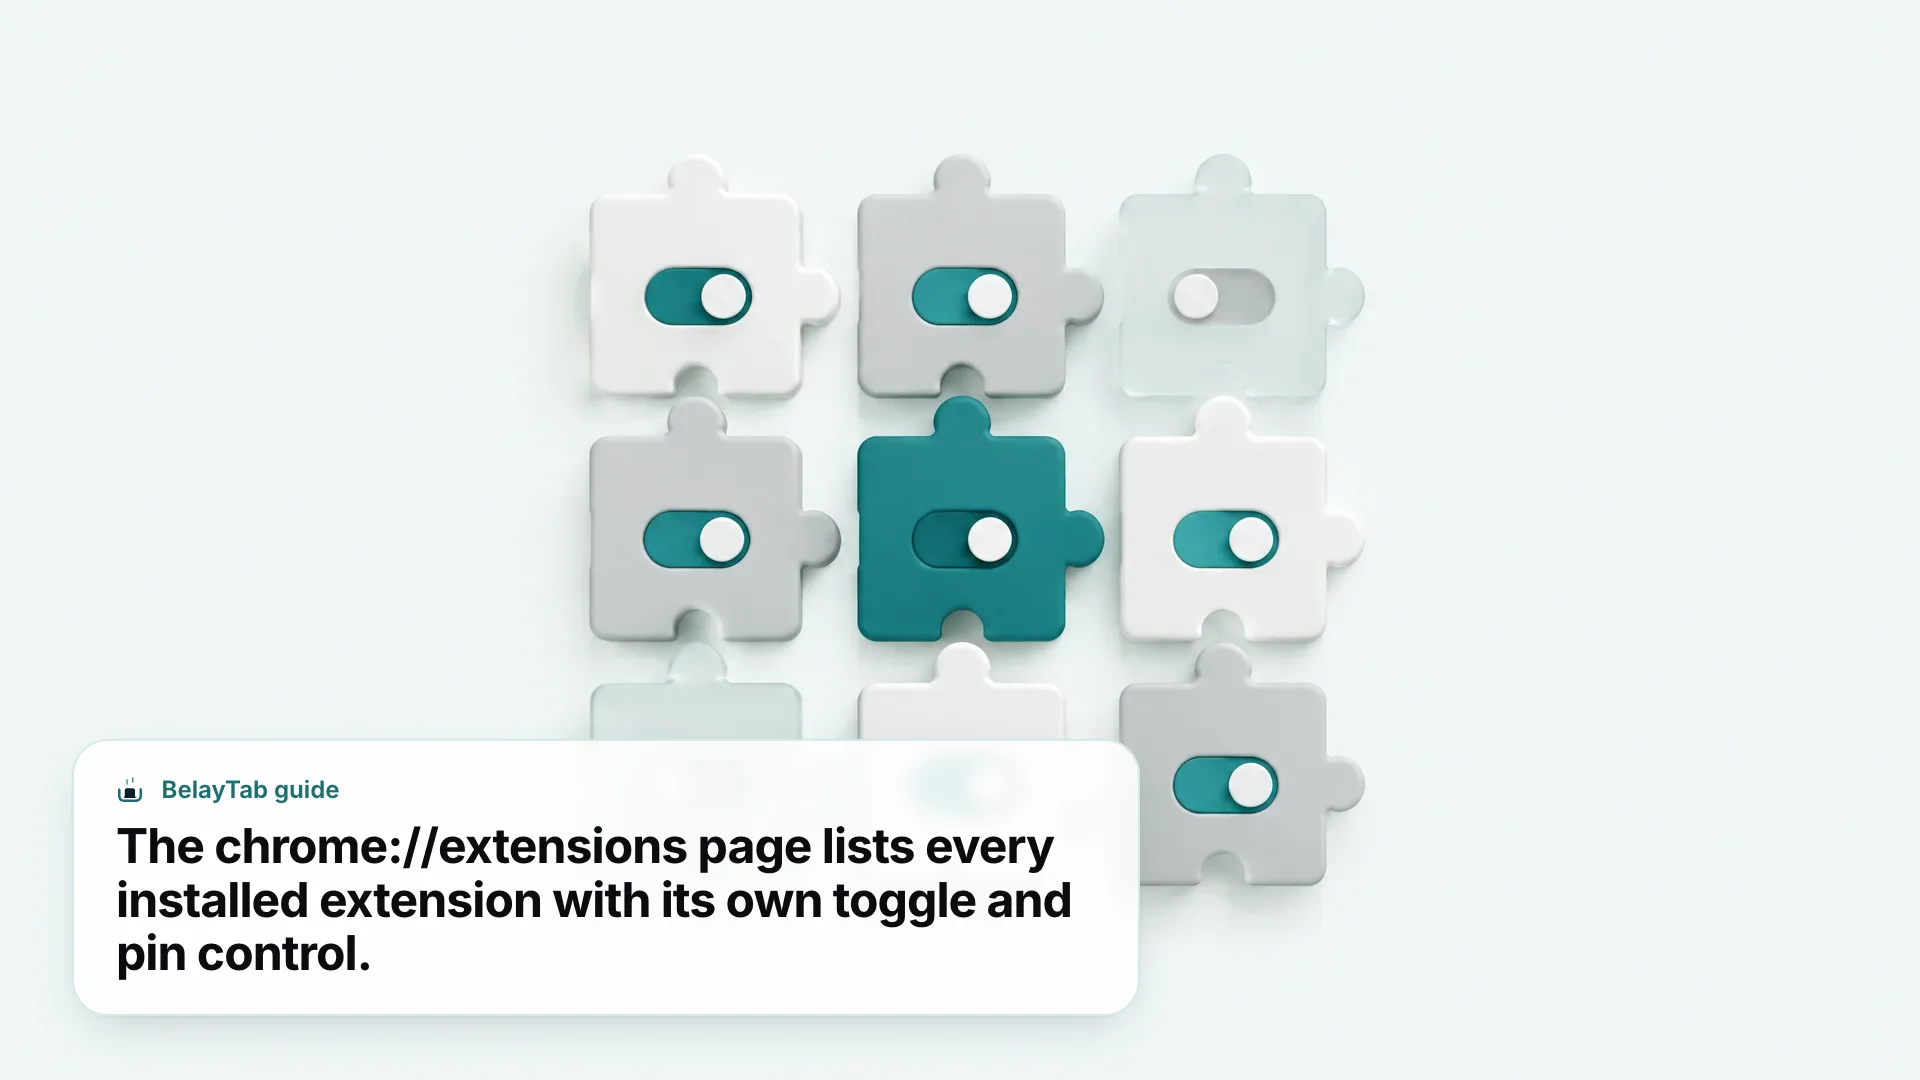
Disable an extension by opening chrome://extensions and switching off the toggle on its card, which turns it off without deleting anything. Flip the same switch back on whenever you want it active again, settings intact.
Disabling is the right move when you’re troubleshooting — say a page looks broken, or Chrome feels sluggish, and you suspect an extension is the cause. Turning extensions off one at a time (or all at once, then re-enabling them individually) is the standard way to isolate the culprit without losing your setup for each one. It’s faster and safer than removing extensions you might want back in five minutes.
It’s also useful for extensions you only need occasionally — a PDF annotator, a specific work VPN, a shopping coupon finder. Rather than cluttering your toolbar or leaving something running in the background all the time, disable it and switch it on only when the task calls for it.
Restarting Chrome to test a fix? Save your tabs first. Extension troubleshooting sometimes means relaunching Chrome, and a relaunch can scatter or lose windows you didn’t mean to touch. Press Ctrl + Shift + S (Cmd + Shift + S on Mac) in BelayTab to save every open tab as a named session before you start flipping switches.
How Do I Remove an Extension I Don’t Need?
Remove an extension by right-clicking its toolbar icon and choosing “Remove from Chrome,” or by opening its card on chrome://extensions and clicking “Remove,” then confirming. Both routes delete the extension and its local data immediately.
Unlike disabling, removal isn’t reversible in the same way. You’d need to reinstall from the Chrome Web Store and reconfigure it from scratch. That’s usually fine for extensions you’re sure you’re done with: an old coupon-clipper you never use, a one-off tool for a project that wrapped up, or anything you installed to try once and forgot about. If there’s any chance you’ll want it back next month, disabling is the safer default.
- Right-click the toolbar icon. If it’s not pinned, open it from the puzzle-piece menu instead and right-click there.
- Choose “Remove from Chrome.” Chrome shows a short confirmation dialog.
- Confirm the removal. The extension and its icon disappear immediately; there’s no undo.
A quick habit worth building: every few months, open chrome://extensions and remove anything you haven’t clicked in ages. Fewer extensions means fewer permission grants floating around, less surface area if one of them turns out to be poorly maintained, and a toolbar that reflects what you use.
How Do I Control What an Extension Can See and Do?
Control an extension’s reach from its Details page, where a site access setting lets you choose between running on specific sites, running on every site, or running only when you click the extension. This is separate from enabling or disabling. It’s about scope, not on/off.
The click-only option is the most conservative: the extension does nothing until you actively invoke it on a given page, which is ideal for tools you use occasionally, like a screenshot grabber or a translator. “On specific sites” is a middle ground for something like a shopping-coupon extension that only needs to run on retail sites. “On all sites” is the broadest, and it’s worth reserving for extensions you genuinely trust with everything you browse.
Chrome and Edge phrase these tiers slightly differently, which trips people up if they’ve switched browsers recently.
| Browser | Click-only option | Broadest option |
|---|---|---|
| Chrome | “When you select the extension” | “On all sites” |
| Edge | “When you click the extension” | “On all sites” |
Chrome Web Store Help is upfront that a permission dialog appears the moment you install or update an extension, and that “the warning doesn’t mean the app is dangerous, just that it can be” — the point is to inform, not alarm. Permissions fall into three tiers: high alert for full access to your computer and every site, medium alert for access to specific or all websites, and low alert for narrower things like bookmarks, history, or tabs, according to Chrome Web Store Help.
How Do I Allow (or Block) an Extension in Incognito Mode?
Allow an extension in Incognito by opening its card on chrome://extensions, clicking Details, and turning on “Allow in incognito”. It’s off by default for every extension. There’s no equivalent toggle to block one specifically; leaving the setting off is the block.
Chrome treats Incognito as a clean slate on purpose, so extensions don’t automatically get to see what you’re doing in a private window. That’s sensible for anything that reads page content or tracks browsing, but it also means a password manager or ad blocker you rely on will silently sit inactive in Incognito unless you flip that switch yourself.
There’s a harder limit worth knowing: you can’t install a brand-new extension while you’re already in an Incognito window, or while browsing as a Guest. Chrome requires a regular, signed-in window for the initial install — switch over, add the extension there, and only then decide whether to allow it in Incognito too.
Not every extension supports Incognito. Turning on “Allow in incognito” doesn’t guarantee full functionality. Some extensions are built to simply not run in private windows at all, regardless of the toggle, since their developer chose not to support that mode.
If you’re chasing down “where to find chrome extension” controls specifically for private browsing, this Details-page toggle is the one and only place. There’s no separate Incognito extensions menu.
How Do I Check if My Extensions Are Safe?
Run Chrome’s built-in Safety Check to flag risky extensions: open Settings, go to Privacy and security, click Safety Check, then “Go to Safety Check” and follow whatever it surfaces. It’s a free, automated pass over what you’ve already installed.
Safety Check looks at your extensions against Google’s known-issue data and flags anything worth a second look — maybe it’s been pulled from the Chrome Web Store, maybe its permissions look unusually broad for what it claims to do. You don’t need to run it constantly; once every month or two, or right after installing a batch of new extensions, is plenty.
Beyond the automated check, a “Featured” badge on a Chrome Web Store listing means Google’s team manually reviewed the extension for following best-practice guidelines (an intuitive experience, use of current platform APIs, and respect for user privacy) plus a clear, detailed store listing. It can’t be bought or gamed, which makes it a reasonable trust signal when you’re deciding between two similar extensions, according to Google’s Chrome team.
If an extension asks for far more than its job requires (a simple calculator wanting access to every website you visit, say) that mismatch alone is reason enough to skip it or remove it outright.
Why Did Some of My Extensions Stop Working?
Some extensions stopped working because Chrome no longer runs Manifest V2 extensions at all, and the deprecation is now fully complete as of September 2026. If an old favorite went quiet, outdated tech is the first thing to check before assuming it’s a bug on your end.
The rollout took about two years. Warning banners for Manifest V2 (MV2) extensions started appearing in June 2024. Chrome began disabling installed MV2 extensions on stable channel that October. By March 2025, MV2 was off by default across every channel, and with Chrome 138 that July, MV2 extensions stopped running entirely with no way to re-enable them. The Chrome Web Store then permanently pulled its remaining MV2 listings on August 31, 2026, according to Chrome’s developer documentation.
Practically, this means: if an extension you loved simply vanished or shows a warning badge on chrome://extensions, its developer likely never shipped a Manifest V3 update. Search the Chrome Web Store for the same tool (many popular extensions were rebuilt under new listings) or look for an actively maintained alternative that covers the same job.
How Do I Manage Extensions on Other Browsers and Devices?
You manage extensions the same general way everywhere (a dedicated page, per-extension toggles, and a store to install from) but the exact menu names and stores differ by browser. Here’s where each one keeps its controls.
- Edge. Open edge://extensions, or Settings and more > Extensions > Manage extensions, to toggle, remove, or turn on Developer mode. Installing something from outside the Microsoft Edge Add-ons store triggers an “Allow extensions from other stores” prompt you have to approve first. See our Edge extensions guide.
- Firefox. The Add-ons Manager lives at about:addons, reachable from the menu under Add-ons and themes; extensions themselves come from addons.mozilla.org, including a curated “Recommended Extensions” tier that Firefox staff review by hand. Details in our Firefox extensions guide.
- Safari (Mac). Go to Safari > Settings (or Preferences) > Extensions to enable one, or edit its per-site access there too. Extensions themselves install through the Mac App Store via Safari > Safari Extensions. See our Safari extensions guide.
- Brave. Brave is Chromium-based, so any extension in the Chrome Web Store works in Brave too; manage them at brave://extensions. Brave’s own Shields already blocks ads and trackers by default, so Brave suggests you likely won’t need a separate ad-blocker extension. More in our Brave extensions guide.
- Opera. Opera has its own store at addons.opera.com, but as a Chromium browser it also runs Chrome Web Store extensions directly — just click “Add to Opera,” no helper extension required. See our Opera extensions guide.
- Phones. Chrome on Android and iPhone doesn’t run extensions at all; the Chrome Web Store instead offers “Add to Desktop” to queue an extension for later. Safari on iPhone gets extensions from the App Store instead, enabled at Settings > Apps > Safari > Extensions. Full breakdown in our Chrome extensions on mobile guide.
Not sure which browser you’re even running right now, especially on a work laptop with unfamiliar settings? Our browser identification tool answers that in one glance before you go hunting through menus.
What’s the Difference Between Disabling and Removing an Extension?
Disabling turns an extension off while keeping it installed with all its settings intact; removing deletes it entirely, along with its local data, and you’d have to reinstall and reconfigure it from scratch. Reach for disable first, and only remove once you’re certain.
Think of disabling as a pause button and removing as the delete key. If you’re not sure whether you’ll want an extension again (a niche tool for one project, a browser game blocker you only need during exam season) disable it and revisit later. If you know for certain it’s dead weight, remove it outright and reclaim a little clarity in your extensions list.
There’s a third option people overlook: just leaving an extension pinned but inactive isn’t really a state Chrome offers directly, but you can approximate it by disabling and unpinning together, so it’s both off and out of sight until you need it.
None of this touches your open tabs directly, but browser housekeeping like this often nudges people into a restart, a profile switch, or a crash they didn’t plan for. That’s a different kind of loss than a broken extension, and it’s worth having a safety net for it separately — see how BelayTab’s automatic snapshots handle that, or browse everything BelayTab saves alongside your extensions.