






Chrome blocking a pop-up is usually a good thing. It’s the browser doing exactly what it’s built to do: stopping a window you didn’t ask for from jumping in front of whatever you were reading. The trouble starts when you did want that window (a bank’s verification prompt, a webinar link, a print preview) and now you’re staring at a small icon in the address bar, wondering what just happened.
This guide covers how the pop-up blocker in Chrome browser actually works, how to allow pop-ups for one site without opening the floodgates everywhere, and how to put the block back once you’re done. It also answers the question people search most: whether you can turn the whole thing off. Short version — not with one switch, and you probably don’t want to. Along the way we’ll cover where Chromebook differs from Chrome on a laptop, and where a bad pop-up script can end up costing you more than an ad.
How Does the Pop-Up Blocker in Chrome Browser Actually Work?
By default, Chrome blocks pop-ups from automatically showing up on your screen, and it does this without any setup on your part. That’s confirmed directly in Google’s support article on pop-ups and redirects.
A “pop-up” in Chrome’s sense is a new window or tab a page opens on its own, usually through a script, without you clicking a link meant to open one. When Chrome intercepts one, it doesn’t just silently drop it. It shows a “Pop-up blocked” icon in the address bar of the page that tried to open it, so you always have a way to see what got stopped and decide whether it was legitimate.
The setting itself lives in one place: Settings, then Privacy and security, then Site Settings, then Pop-ups and redirects. That page is really a permissions list — every site is either on the allowed side or the blocked (default) side, and you move sites between the two manually. There’s no separate “strength” setting or sensitivity slider; a pop-up is either allowed for a given site or it isn’t.
This applies the same way whether you’re on Chrome for Windows, Mac, Linux, or a Chromebook, because all of them run the same underlying browser and the same Site Settings page. We’ll get into the Chromebook specifics a bit further down, since a surprising number of people assume ChromeOS handles this differently. It doesn’t.
Quick Answer: Allow or Block Pop-Ups by Situation
Here’s the short version for the most common situations, before we walk through each one in detail.
| Situation | What to do in Chrome |
|---|---|
| A trusted site needs pop-ups (bank, booking, e-signature) | Click the address bar icon and always allow that site |
| You want pop-ups off again for a site you allowed | Site Settings, then find the site, then choose Block |
| You’re using a Chromebook | Same Settings menu — Chromebook runs the Chrome browser |
| A pop-up keeps reappearing after you thought you blocked it | It may be a redirect, not a true pop-up — see below |
| You want the blocker off for good, everywhere | Leave the default on; there’s no single “allow all” switch |
The table looks simple because the underlying system really is simple: Chrome keeps one list of sites and whether each one may send pop-ups and redirects. Everything else (the address bar icon, the settings page, the wildcard patterns) is just different ways of managing that one list.
If you searched for “how to disable pop up blocker in chrome browser” hoping for a global toggle, the honest answer is that Chrome doesn’t ship one. What it offers instead is fast, per-site allowing, which is what the rest of this guide walks through.
This guide covers Chrome specifically. Edge, Firefox, Brave, and Vivaldi each ship their own pop-up controls, and the menu wording differs slightly from browser to browser. If you split your time across more than one, our guides for Edge, Firefox, Brave, and Vivaldi are a better starting point for those specific settings.
How Do I Allow Pop-Ups for a Site Right From the Address Bar?
The fastest way is to react to the block the moment it happens, using the icon Chrome already put in the address bar. This is the flow Google documents directly for allowing pop-ups on a page-by-page basis.
- Trigger the block. Visit the page and let Chrome block the pop-up as it normally would.
- Open the icon. Look for the “Pop-up blocked” icon in the address bar and click it.
- Select the pop-up. A small panel shows the pop-up link Chrome stopped — click it.
- Choose “Always allow.” Pick “Always allow pop-ups and redirects from [site].”
- Click Done. Chrome saves the site to your allowed list immediately.
This is the method most people reach for the first time they hit a blocked booking confirmation or a scheduling widget that only works in its own window. It’s quick because you don’t have to know the exact site name or dig through menus — Chrome already knows which site you’re on.
One thing worth knowing: this flow allows the site going forward, not just that one instance. If you only need the pop-up once and don’t want the site permanently on your allowed list, it’s worth unchecking that box mentally — go back afterward and remove the site from Site Settings once you’re done with it. That takes an extra minute but keeps your allowed list from slowly filling up with sites you only needed once.
How Do I Allow Pop-Ups for a Site in Chrome’s Settings?
You allow pop-ups through Settings when you want to add a site before you’ve hit the block, or manage several sites at once. This is the same underlying permissions list the address bar icon writes to, just reached a different way.
Open Settings, then Privacy and security, then Site Settings, then Pop-ups and redirects. You’ll see two lists: sites blocked from sending pop-ups (the default for everyone) and sites allowed to send them. To add a site to the allowed side, click Add, type the address, and confirm.
This route is worth using instead of the address bar method when you already know you’ll need a site’s pop-ups regularly — a work tool, a client portal, a government site you file paperwork through every quarter. Adding it ahead of time means you never see the block in the first place.
It’s also the only place to see your full allow list at once. The address bar icon only ever shows you what’s happening on the page you’re currently viewing, so if you’ve allowed pop-ups on a dozen sites over the past year and can’t remember which ones, Site Settings is where you go to check — and to clean the list up.
How Do I Turn Off Chrome’s Pop-Up Blocker Completely?
You can’t turn it off with a single switch — Chrome doesn’t publish one, and the supported controls only work on a per-site basis. That’s the direct answer to “how to turn off browser pop up blocker on chrome,” and it’s worth sitting with for a second before you go looking for a workaround.
What Chrome does offer is the ability to allow as many individual sites as you want, using the same Settings page and the same wildcard patterns described above. In practice, that gets you most of the way to “off” for the sites you use, without exposing you to every other site on the internet.
If you’re managing a shared computer, a work machine, or a browser you don’t want to babysit, resist the urge to hunt for a hidden global toggle or a third-party trick that claims to disable the blocker entirely. None of that is documented behavior, and anything that promises a one-click “allow everything” switch is usually asking for more browser permissions than it needs.
Think twice before allowing broadly. Pop-ups and redirects are a common delivery method for phishing pages and fake “your computer is infected” scams. Allowing them on sites you don’t fully recognize, just to make a warning disappear, is one of the more avoidable ways people end up with unwanted browser extensions or worse.
How Do I Block Pop-Ups for a Site I Already Allowed?
You remove or block it from the same Pop-ups and redirects page where you allowed it in the first place. Chrome doesn’t put a shortcut for this in the address bar the way it does for allowing, so Settings is the only route.
- Open Site Settings. Go to Settings, then Privacy and security, then Site Settings.
- Find Pop-ups and redirects. Scroll to that permission and open it.
- Locate the site. Look under “Allowed to send pop-ups and use redirects.”
- Open its menu. Click the three-dot menu next to the site’s entry.
- Choose Block. Chrome moves the site back to the blocked list right away.
This comes up more often than people expect. A site you allowed for one purchase keeps sending pop-ups every time you return, a browser extension you installed asked for pop-up access and you said yes without thinking, or you’re cleaning up a shared or work computer before handing it back. Whatever the reason, reversing an allow only takes a few clicks once you know where the list lives.
It’s worth doing this cleanup every so often rather than letting the allowed list grow indefinitely. A shorter list is easier to audit, and it means the pop-up blocker is doing its job on more of the sites you visit, rather than quietly standing down for a growing pile of one-off exceptions from months ago.
Is the Chromebook Pop-Up Blocker Any Different?
No — a Chromebook’s pop-up blocker is the exact same Chrome feature, because ChromeOS uses the Chrome browser as its main interface rather than running a separate app. If you’ve searched specifically for chromebook pop up blocker settings, the good news is you already know where to look: Settings, then Privacy and security, then Site Settings, then Pop-ups and redirects, same as any other device.
The address bar icon, the always-allow flow, and the wildcard site patterns all behave identically on a Chromebook. There’s no separate ChromeOS-level pop-up control layered on top, and no extra step for managing school or work-managed Chromebooks beyond what a device policy might restrict — which, if it applies to you, is usually set by an administrator rather than something you toggle yourself.
Where Chromebooks do differ is in what happens around the browser — things like managed policies on school devices, or how quickly a low-memory Chromebook can bog down with dozens of tabs open. If pop-ups aren’t your only Chromebook headache, our guide on what a Chromebook is is a good next stop for the bigger picture.
What Does the “Pop-Up Blocked” Icon Actually Mean?
It means Chrome stopped a window from opening automatically on the page you’re currently viewing, and it’s giving you a chance to review it before anything happens. The icon shows up in the address bar itself, not as a full notification banner, which is why it’s easy to miss if you’re not looking for it.
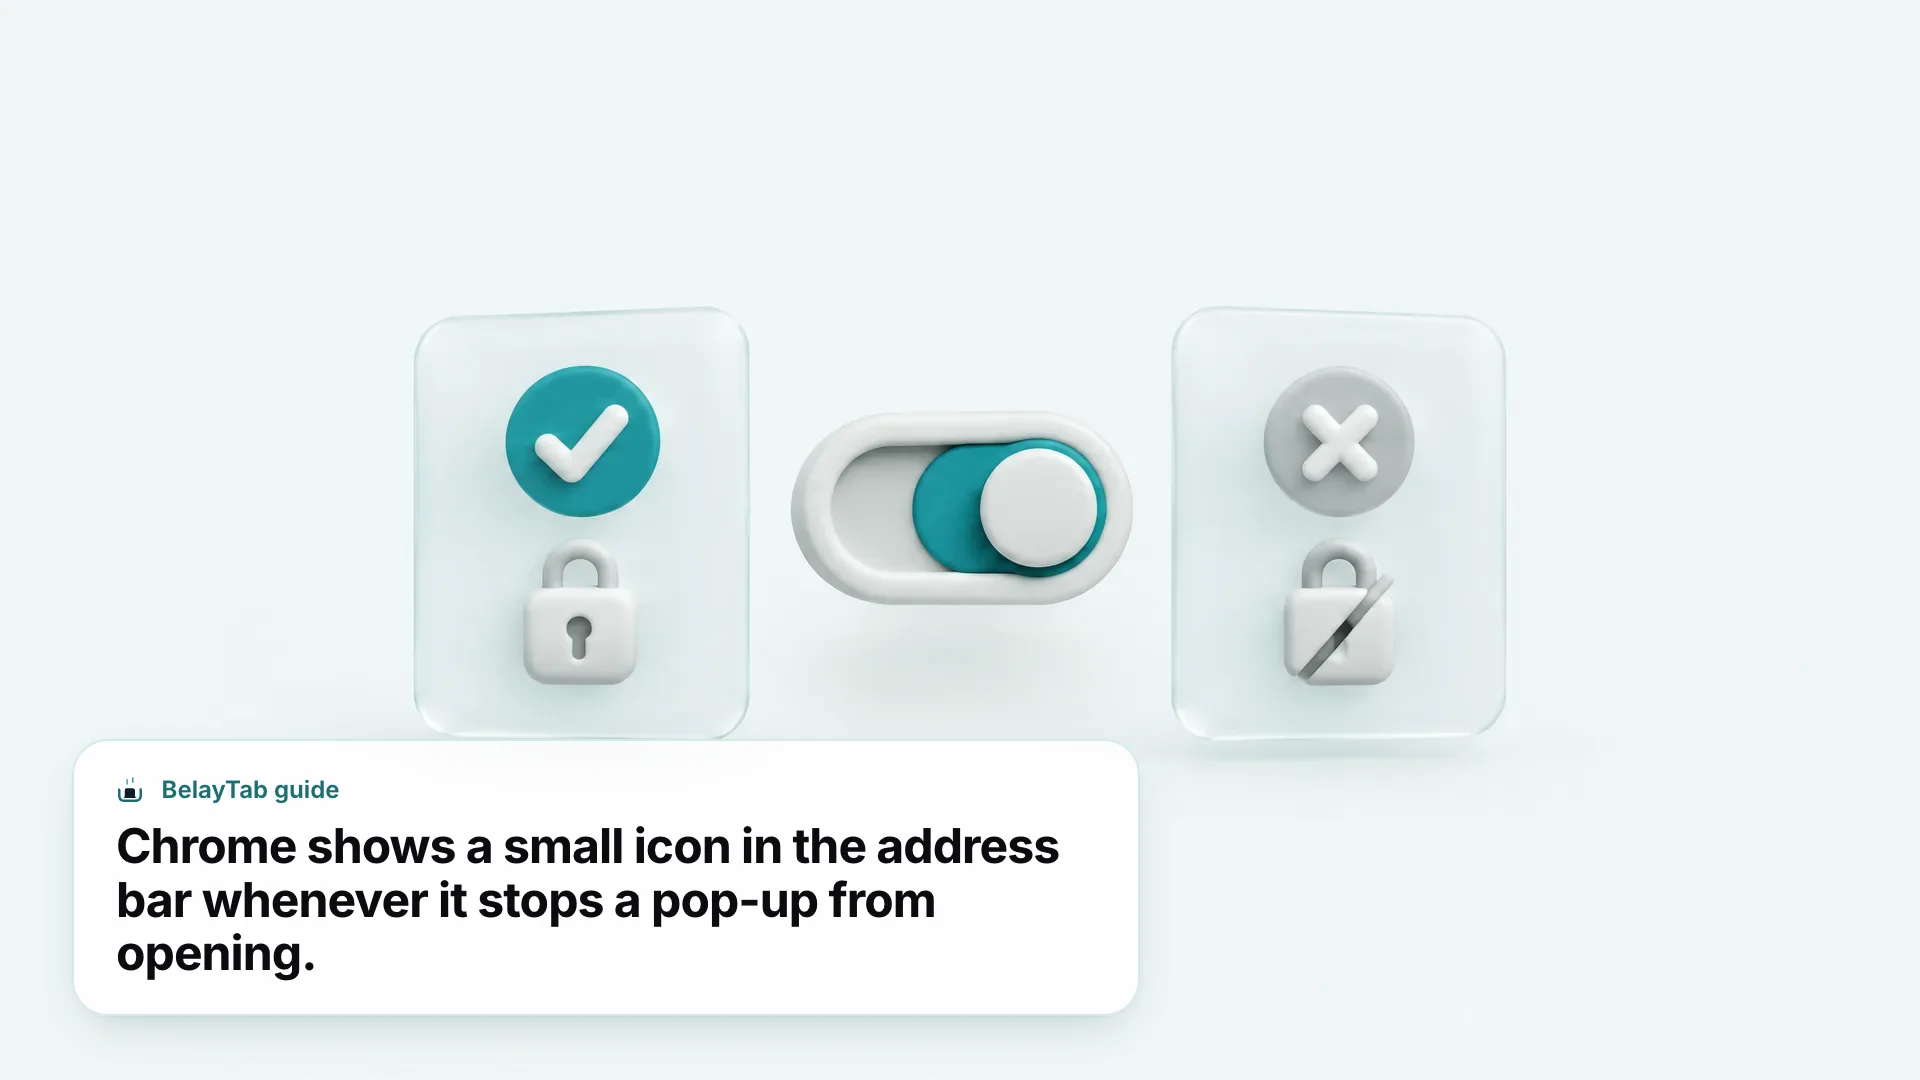
Clicking the icon opens a short panel listing what was blocked. From there you can open the blocked item once to see what it was, or choose to always allow the site going forward. If nothing was blocked and you’re just curious what the icon looks like, you likely won’t see it at all — Chrome only shows it the moment a block happens on the page you’re viewing.
A useful habit: before allowing anything from that panel, look at what it’s offering to open. A pop-up that turns out to be a shipping confirmation from a store you just bought from is very different from one on a site you landed on from an ad. The icon gives you that pause deliberately. It’s worth using it.
Why Do I Still See Pop-Ups or Redirects After Blocking Them?
The most common reason is that what you’re seeing isn’t technically a pop-up. It’s a redirect, which Chrome’s same Pop-ups and redirects setting also controls, but which can behave differently depending on how the site triggers it. A redirect changes the page you’re already looking at, rather than opening a separate window, so blocking “pop-ups” on a site doesn’t always feel like it stopped anything if a redirect still gets through.
Another common cause is a subdomain mismatch. If you blocked www.example.com but the pop-up is coming from ads.example.com or a third-party script embedded on the page, Chrome treats those as separate entries unless you used a wildcard pattern to cover the whole domain.
- Banking and tax sites. Statements, e-signature flows, or ID verification often open as pop-ups.
- Video calls and webinars. Meeting links frequently launch in their own pop-up window.
- Print and download dialogs. Some sites route a print preview or file picker through a pop-up.
There’s a more disruptive version of this problem worth flagging: some low-quality or malicious sites use pop-up and redirect loops specifically to make it hard to leave the page, sometimes opening new windows faster than you can close them. If that happens and you end up force-closing Chrome entirely just to make it stop, you can lose whatever else was open in other windows at the time — the research tabs, the half-written email, the flight booking. Chrome’s own recovery after a forced close isn’t guaranteed, which is exactly the gap automatic snapshots and a proper recovery screen are built to close. If a runaway pop-up site has ever cost you a window full of tabs, our piece on Chrome opening new tabs by itself covers the related but slightly different problem of tabs multiplying without a pop-up trigger at all.
Do I Need an Extension, or Is Chrome’s Blocker Enough?
For actual pop-ups, Chrome’s built-in blocker is enough for most people, since it’s on by default and doesn’t require installing anything. Where extensions earn their place is in the gap right next to pop-ups: overlay ads, tracking scripts, and cookie banners that aren’t technically pop-up windows and so aren’t covered by the setting this guide has been walking through.
| Chrome’s built-in blocker | A dedicated ad or content-blocking extension | |
|---|---|---|
| Cost | Free, on by default | Usually free, some offer paid tiers |
| Setup | None | Install once, grant permissions |
| Scope | Pop-up windows and redirects | Often also overlay ads, trackers, cookie prompts |
| Control | Per-site allow/block list | Usually broader, filter-list based |
| Best for | Nearly everyone | Sites with heavy ad or tracker load |
If you’re deciding whether to add one, it comes down to how much of your browsing involves ad-heavy sites rather than the occasional legitimate pop-up. Chrome’s Manifest V3 changes reshaped what content-blocking extensions can and can’t do on the technical side, which is worth understanding before you pick one — our adblock extension guide covers what still works. For pop-ups specifically, though, you’re unlikely to get more protection than Chrome already provides by default.
What Should I Do Before Touching Any Browser Setting Like This?
Save your open tabs first, since any settings change carries a small risk of a browser hiccup, an accidental extra click, or simply losing track of what you had open across several windows. It sounds like overkill for a two-minute settings change, but it costs nothing and removes the risk entirely.
Chrome’s own tools for this are limited on purpose. Reopening a single closed tab is quick, but there’s no built-in way to save a named snapshot of an entire window of tabs before you go poking around Settings, and Chrome’s crash recovery after a hard shutdown isn’t something you can rely on every time.
This isn’t specific to pop-ups. Any settings page, any extension install, any moment where you’re clicking around instead of reading is a moment where an accidental window close can cost you real work. Treating “save the window first” as a five-second habit, the same way you’d save a document before formatting it, is cheap insurance against a problem that’s otherwise very hard to undo.
How Do Pop-Up Problems Fit Into General Chrome Security?
Pop-up and redirect controls are one small piece of a much larger settings checklist that determines how exposed you are while browsing day to day. Getting the pop-up blocker right matters, but it’s not a substitute for the rest of Chrome’s security settings — things like Safe Browsing level, saved password health, and extension permissions all play a bigger role in your overall exposure.
If a pop-up or redirect loop ever gets aggressive enough that you’re not sure whether you’re looking at a real site or a fake warning page, the safest move is to close the tab (or the whole window, if it won’t respond) rather than clicking anything inside it, including buttons that claim to close the warning. Chrome’s own blocked-pop-up icon never asks you to click something inside the pop-up itself to dismiss it. That’s a difference worth remembering under pressure.
For a broader pass at hardening your setup beyond pop-ups specifically, our Chrome security checklist walks through the rest of the settings worth reviewing, in the order that matters.
What’s the Real Cost of Getting Pop-Up Settings Wrong?
The cost isn’t usually the pop-up itself. It’s what you do in reaction to it. Allowing a site too broadly out of frustration, clicking through a fake warning to make it stop, or force-quitting the whole browser and losing three other windows you had open are all more damaging than the original blocked window ever was.
That’s really the throughline of this whole guide: Chrome’s pop-up blocker is simple, well-documented, and does its job quietly in the background. The mistakes happen at the edges — allowing the wrong site permanently, not knowing where to reverse it, or panicking when a redirect loop won’t stop and losing a window’s worth of tabs in the process.
None of that requires a different browser or a paid tool to avoid. It requires knowing the two or three places in Settings where this lives, which this guide has now covered, and having a safety net for the moments where something still goes sideways. That’s the part BelayTab is built for — not to change how pop-ups work, but to make sure a bad ten seconds with one never costs you a window you needed.