






Most camera problems on a Chromebook come down to one of three layers stacking up: a physical switch, a device-wide setting, and a permission for the one site or app that’s actually asking. Once you know the order to check them in, fixing the camera on Chromebook hardware takes a couple of minutes, not a support call. This guide walks through opening the Camera app, using its modes, fixing the most common “chromebook camera not working” complaints, and handling Samsung Chromebook camera questions specifically, since the same steps apply there too. Along the way we’ll flag the one thing camera troubleshooting quietly threatens that has nothing to do with the camera at all: your open browser tabs.
How Do I Open the Camera on a Chromebook?
You open the camera on a Chromebook through the Launcher, then the Camera app icon, and switch between Photo, Portrait, Video, and Scan along the bottom of the window. There’s no separate “turn the camera on” step beyond opening the app — if the hardware and permissions are fine, the live preview appears immediately.
- Open the Launcher. Select the circle icon in the bottom-left corner of the shelf, or press the Search/Launcher key.
- Type or scroll to Camera. Click the Camera app to open it.
- Pick a mode. Along the bottom of the window you’ll see Photo, Portrait, Video, and Scan (which itself splits into Document or QR code).
- Check the preview. If you see a live image, the camera and its permissions are working; if the window is black or shows an error, skip to the fixes further down.
If the preview loads fine here but a specific website or video-call app can’t see the camera, that’s a permissions issue, not a hardware one — the Camera app talks directly to the hardware, while websites and Android apps go through an extra layer of Chromebook permission settings covered later in this guide.
Here’s a fast reference for common situations before we get into detail:
| Situation | Most likely cause | Where to fix it |
|---|---|---|
| Camera app itself shows a black screen | Physical camera switch is off, or hardware fault | Check the switch, then Diagnostics |
| Camera app works, but one website can’t use it | Site-level Chrome permission is blocked | chrome://settings/content |
| Camera app works, but every app is blocked | Device-wide Camera access is off | Settings > Privacy and security > Privacy controls |
| One Android app specifically can’t use the camera | Android app permission, not ChromeOS setting | The app’s own Android Preference Center |
| Permission was just changed but still doesn’t work | Change hasn’t applied to the loaded page | Refresh the page |
What Can the Chromebook Camera App Actually Do?
The Camera app covers four modes (Photo, Portrait, Video, and Scan) plus two extras tucked into the same interface: time-lapse and GIF capture. Photo and Portrait cover still images, Video handles standard recording, and Scan reads either a document or a QR code directly into the app.
- Photo. Standard still capture, with Settings controls for grid overlay, timer, and resolution.
- Portrait. A still-image mode built for close, front-facing shots.
- Video. Standard recording, plus the time-lapse and GIF options live in the same tab.
- Scan. Reads a physical document or a QR code straight into the app without a separate scanner tool.
Time-lapse recordings are automatically compressed down to a final length of 15 to 30 seconds no matter how long you filmed — a 100-second capture becomes roughly a 25-second, 4x-speed clip. Google’s own advice here is to keep the Chromebook plugged in during a long time-lapse, since it’s effectively recording continuously in the background.
GIF captures inside the Camera app are capped at 5 seconds, and Google recommends keeping them on the shorter side anyway, since shorter GIFs tend to play more reliably across different apps and sites. None of this needs a separate screen-recording extension or a third-party GIF maker. It’s built into the same app you already used to take the photo.
Camera app Settings (a gear icon inside the app itself) also let you adjust grid size, timer length, and resolution, plus a dedicated Mirroring toggle that flips a photo left-to-right — useful if text or a logo in frame looks reversed in your selfie shots.
Why Is My Chromebook Camera Not Working?
A Chromebook camera usually stops working for one of three reasons: a physical switch is closed, device-wide Camera access is turned off, or the one app or site asking for the camera has been individually blocked. Work through them top to bottom rather than guessing, since each layer can override the ones below it.
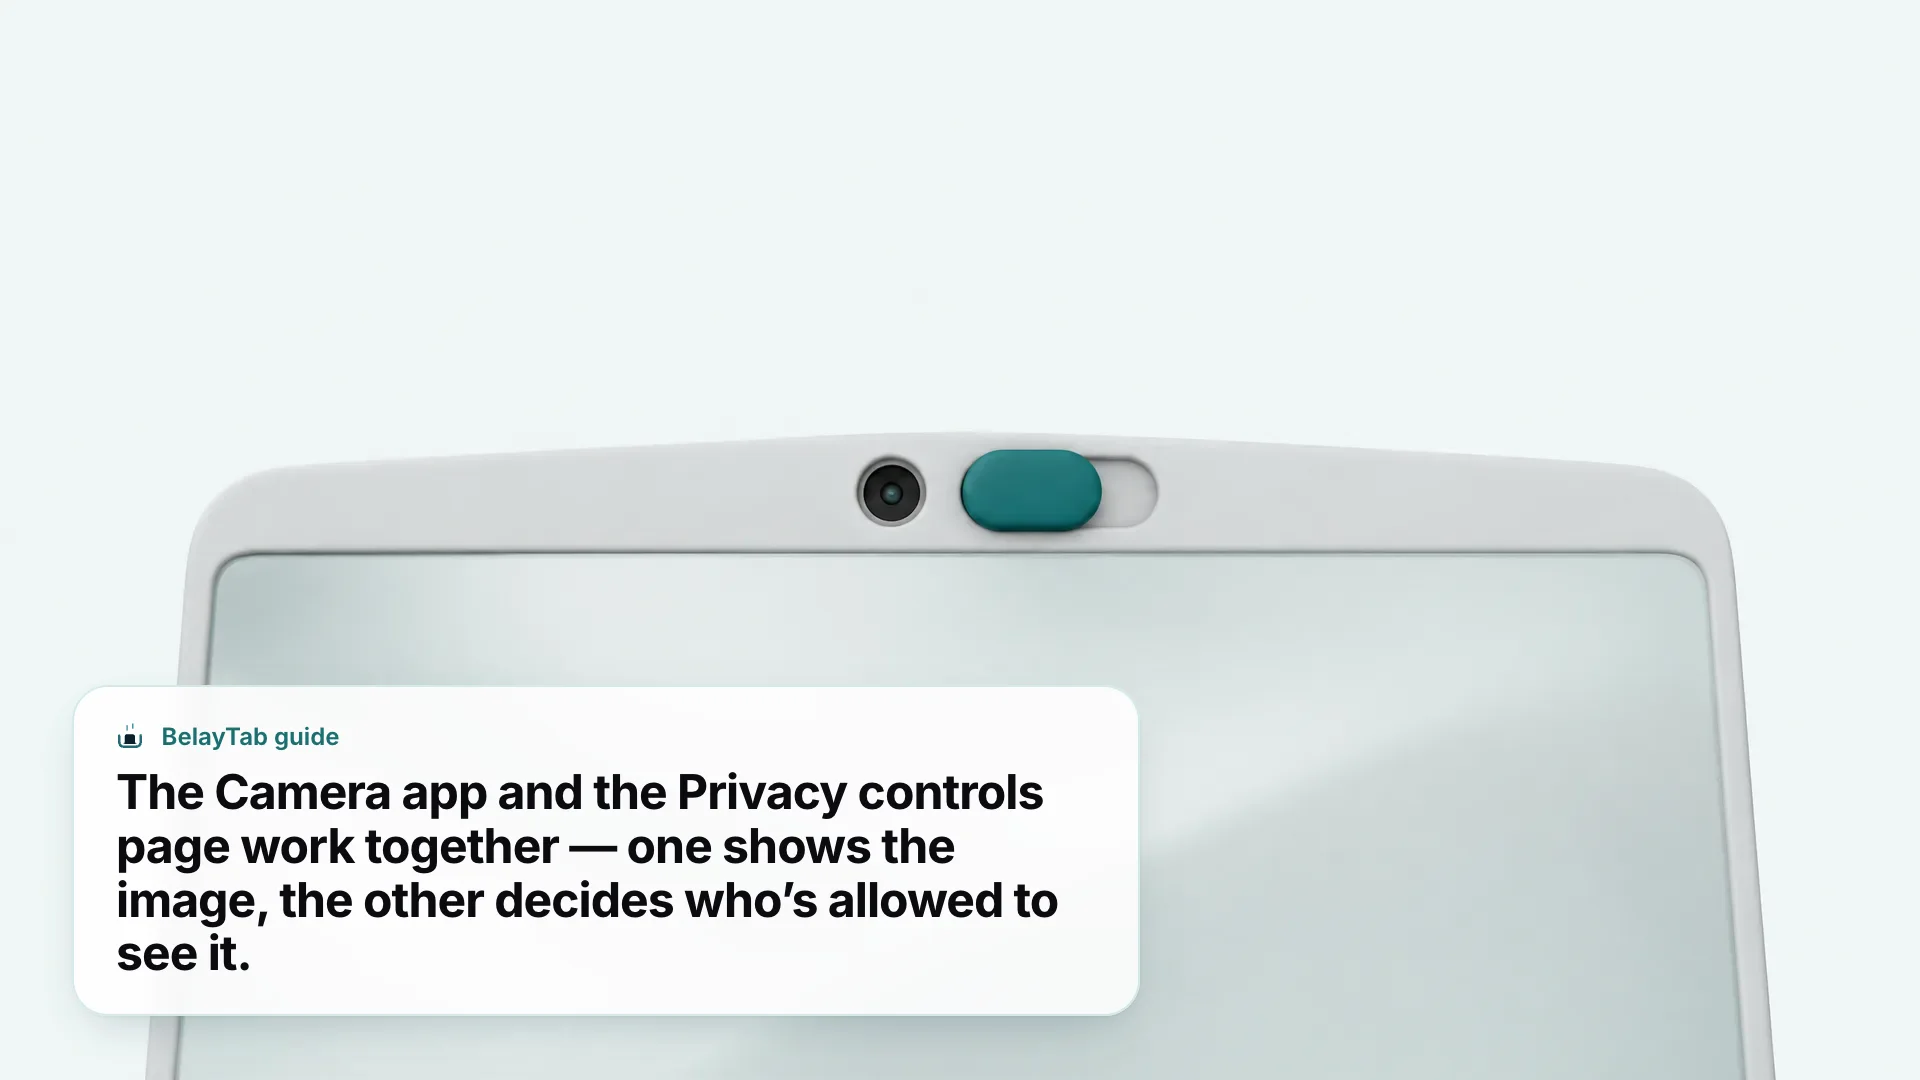
Start with the hardware. If your specific model has a physical camera shutter or switch (some do, many don’t) it has to be open for the camera to work at all, and no software setting can compensate for it being closed. Next, check the device-wide toggle: Settings, then Privacy and security, then Privacy controls, then Camera access. When that’s off, Google is explicit that it blocks the camera “at all levels and services,” meaning it doesn’t matter what any individual app’s permission says.
One toggle beats every other setting. If device-wide Camera access is off, every app-level permission you’ve granted is irrelevant until you turn it back on. Don’t spend time re-checking individual site settings before confirming this one first.
Only once both of those check out is it worth looking at the specific site or app. That’s the third and most common culprit in practice, because it’s scoped narrowly. You might have blocked a video-call site once by accident months ago and forgotten about it. The next two sections cover exactly how to fix that layer for a website versus an Android app, since Google treats them differently.
How Do I Turn Camera Access On or Off for the Whole Chromebook?
You turn Camera access on or off for the entire Chromebook at Settings, then Privacy and security, then Privacy controls, then the Camera access toggle. This is the single setting that overrides every app, website, and individual permission on the device — when it’s off, nothing can use the camera, period.
With Camera access on, per-app permission still applies underneath it. Chrome and web apps read the state as either “Allow” or, if you’ve blocked it, “Ask” (prompts each time a site wants the camera) or “Block” outright. Android apps use a slightly different vocabulary for the same idea: “Allowed – while in use” when granted, or “Ask every time” / “Denied” when it isn’t.
| Layer | Where it lives | What turning it off does |
|---|---|---|
| Physical switch (if present) | Edge of the laptop | Blocks the camera at the hardware level, no software override |
| Device-wide Camera access | Settings > Privacy and security > Privacy controls | Blocks camera for every app and service on the device |
| Chrome / web app permission | chrome://settings/content, or per-site | Sets a site to Ask or Block while device-wide access stays on |
| Android app permission | The app’s own Android Preference Center | Sets one Android app to Ask every time or Denied |
Refreshing fixes more than it looks like it should. If flipping a permission doesn’t seem to change anything inside an already-open webpage or app, Google’s documented fix is simply to refresh the page. Browsers don’t always re-check permissions on a tab that’s already loaded.
This is also where the “camera on samsung chromebook” question resolves itself: Samsung Chromebooks ship ChromeOS, not a Samsung-specific operating system, so this exact Settings path, this exact toggle, and this exact permission language all apply unchanged. There’s no separate Samsung camera control panel to hunt for.
How Do I Fix Camera Permissions for a Specific Site or App?
You fix a single site’s camera permission at chrome://settings/content, and a single Android app’s camera permission inside that app’s own Android Preference Center — the two are handled in completely different places. Mixing them up is the most common reason people say they’ve “already fixed” the permission and it still doesn’t work.
For a website, type chrome://settings/content into the address bar, find the Camera section, and set the site to Allow. Alternatively, the next time a site requests the camera, Chrome’s prompt itself offers a per-visit choice: “Allow this time,” “Allow while visiting the site,” or “Never allow,” accessible via the address bar’s permission icon or through Chrome menu, Settings, Privacy and security, Site settings.
- Open chrome://settings/content. Type it directly into the address bar and press Enter.
- Select Camera. You’ll see a list of sites under Allowed and Blocked.
- Move the site to Allowed. Or delete a blocked entry so the site prompts you fresh next time.
- Refresh the tab. The change should apply immediately once the page reloads.
For an Android app instead of a website, ChromeOS Settings won’t show you the toggle you need. Google’s guidance is to go through the Android Preference Center specifically, opened from that app’s own entry in the Launcher — not from the general ChromeOS Settings app. This trips people up because it feels like it should be in one place, and it isn’t.
Does a Physical Camera Shutter or Switch Affect My Chromebook Camera?
Yes, if your specific Chromebook has one, a physical camera shutter or switch has to be open for the camera to work, and no software setting can override it. This is a hardware-level block, not a Chrome or ChromeOS preference, which is why it’s worth checking first before touching any menu.
Not every Chromebook has this switch. It’s a manufacturer choice, so some laptops (including some Samsung Chromebook models) include one for privacy, and others rely entirely on the software permission layers described above. If you’re not sure whether yours has one, run your finger along the top bezel near the camera lens, since that’s the typical placement for this kind of shutter.
The confusion this causes is predictable: someone turns on Camera access in Settings, confirms every site permission is Allow, and the camera still shows black — because a switch flipped shut, maybe by accident in a bag, is silently overriding everything else. It’s a five-second check that saves a lot of settings-menu digging.
Once you’ve confirmed the switch (if present) is open, and the camera preview works inside the built-in Camera app, you’ve isolated the problem to software permissions specifically — which is exactly what the previous two sections walk through fixing.
How Is the Samsung Chromebook Camera Different From Other Chromebooks?
It isn’t, functionally — a Samsung Chromebook camera runs the identical ChromeOS Camera app, the same Photo/Portrait/Video/Scan modes, and the same three-layer permission system as any other Chromebook. The searches for “samsung chromebook camera” and “camera on samsung chromebook” are really asking the same question this whole guide answers, just with a brand name attached.
What can differ between models, Samsung or otherwise, is the hardware itself: whether a physical camera switch is present, the camera’s resolution, and where exactly that switch or lens sits on the chassis. None of that changes the software path — Launcher, then Camera, for opening it; Settings, Privacy and security, Privacy controls for the device-wide toggle; chrome://settings/content for a specific website.
If you’ve searched specifically because a Samsung Chromebook camera “isn’t showing up” in a video-call app, the order to check is the same one above: physical switch first, device-wide Camera access second, and the specific app’s own permission third. There’s no Samsung-specific settings panel layered on top of ChromeOS here — brand differences in Chromebooks show up in the keyboard, the hinge, and sometimes the touchpad, but the camera stack itself is standard ChromeOS behavior across manufacturers.
How Do I Get Better Photos and Video Calls With a Chromebook Camera?
You get better output from a Chromebook camera by adjusting the built-in Camera app’s Settings (grid, timer, and resolution) rather than reaching for a third-party app first. These are the only image controls Google documents for the app, and they cover most everyday needs.
The grid overlay helps with framing a still photo the same way a grid does in any camera app — turn it on under Settings if you’re composing a shot rather than just snapping a quick reference photo. The timer setting delays the shutter, useful for group photos or when you need to step back into frame yourself. Resolution controls the size and quality of the captured image or video, which matters more for photos you plan to print or crop than for a quick video call.
The Mirroring toggle deserves a specific mention: it flips a photo left-to-right, which matters if you’ve ever taken a selfie holding up a sign, a book cover, or anything with text in it and noticed the text came out backwards. Toggling Mirroring off (or on, depending on the default) fixes that without needing any photo editor afterward.
None of these settings affect video-call quality inside apps like Google Meet or Zoom directly. Those apps typically manage their own camera resolution and framing independent of the ChromeOS Camera app’s settings. If a video call looks poor but a photo taken in the Camera app looks fine, the issue is more likely the call app’s own settings or your network than the camera hardware itself.
Why Do Camera Fixes Sometimes Mean Restarting — and What Does That Cost You?
A Chromebook restart is a legitimate step in camera troubleshooting when a permission change or a stuck app won’t clear on its own, but it closes every open browser window and tab in the process. That’s the trade-off nobody mentions when they tell you to “just restart it.”
Google’s own general troubleshooting sequence for stuck hardware and software issues on a Chromebook starts with turning it off and back on, closing apps and windows, and only escalates to Diagnostics, Powerwash, or recovery if a simple restart doesn’t resolve things. For a camera specifically, you’re unlikely to need anything past the permission fixes above — but if a restart is genuinely the next step, it’s worth knowing what you’re about to lose along with it.
A restart doesn’t remember your tabs the way you think. Chrome can reopen your last session on some setups, but that only restores what was open at the exact moment you restarted — not tab groups you closed hours ago, not the version of a window before you accidentally closed one tab in it, and nothing from before a crash that happened mid-restart.
This is the quiet cost of hardware troubleshooting generally, not just camera issues: microphone fixes, touchpad fixes, and freeze fixes all tend to recommend a restart as an early step, and every one of them carries the same tab risk. If you’ve read our guide on Chromebook microphone fixes or Chromebook touchpad fixes, you’ll notice the same pattern: the hardware fix is usually quick, but the tabs you had open are what take the hit.
How Do You Keep Your Tabs Safe While Troubleshooting Chromebook Hardware?
You keep your tabs safe during hardware troubleshooting by having something save them automatically before the restart happens, not by remembering to save them manually in the moment. Nobody troubleshooting a camera at 11pm before a video call is thinking about their open tabs — which is exactly when they get lost.
BelayTab runs as a free browser extension that snapshots every open window automatically every five minutes, and again whenever a window closes, with no account and no limit on how many sessions or tabs you keep. It keeps the last 20 versions of every session, so restoring never overwrites anything. It just adds another version to the history. If you restart your Chromebook to test a camera or permission fix, your tabs from five minutes ago are already sitting in BelayTab’s Recovery screen, separate from whatever ChromeOS itself managed to remember.
- Install BelayTab. It’s free, works with no account, and adds no host permissions. It never reads page content. Get it from the download page.
- Keep working normally. BelayTab snapshots your open windows automatically every five minutes and whenever one closes.
- Troubleshoot the camera. Restart, Powerwash, or reset the Chromebook as needed, following the steps above.
- Open the Recovery screen. Snapshots, deleted sessions, and the browser’s own recently closed windows are all in one place. See how the Recovery screen works.
This matters more the further a fix escalates. A simple restart, Chrome’s own “continue where you left off” setting might cover you. But if a camera issue turns into a full Powerwash or reset, Chrome’s session memory resets along with everything else — and that’s precisely the scenario BelayTab’s automatic, restart-independent snapshots are built for. Press Ctrl + Shift + S (Cmd + Shift + S on Mac) any time you want to save a named session on your own terms, on top of the automatic snapshots running in the background. BelayTab also works across Chrome, Edge, Brave, and several other browsers if your Chromebook setup involves more than one — see the Chrome browser page for specifics.
None of this fixes the camera itself, and it isn’t meant to — BelayTab can’t recover tabs from before it was installed, and it doesn’t touch hardware or app permissions. What it does is make sure that whatever else goes wrong during troubleshooting, your tabs aren’t part of the damage.
Frequently Asked Camera Fixes, One More Time
If you only remember one thing from this guide, remember the order: physical switch, then device-wide Camera access, then the specific site or Android app permission. That sequence solves the overwhelming majority of “camera on chromebook” complaints without ever touching Diagnostics or a factory reset.
A quick recap of where each control lives, since these are easy to mix up:
| Question | Answer |
|---|---|
| Where’s the Camera app? | Launcher > Camera |
| Where’s the master on/off switch? | Settings > Privacy and security > Privacy controls > Camera access |
| Where do I fix one website? | chrome://settings/content |
| Where do I fix one Android app? | That app’s own Android Preference Center via the Launcher |
| What if a change doesn’t seem to work? | Refresh the page |
If you’ve gone through every layer here and the Camera app still shows nothing, it’s worth running Diagnostics to rule out an actual hardware fault before assuming it’s a settings problem — Google recommends Diagnostics specifically for cases where the cause isn’t obvious from software checks alone. And whatever step you land on next, whether that’s a restart, a Powerwash, or a call to the manufacturer, it costs you nothing extra to have your tabs backed up first.