






Chromebook tabs behave like Chrome tabs on any computer, plus a few extras built into ChromeOS: a dedicated key for Overview mode, Virtual Desks for grouping whole windows, and a Startup setting that decides whether your tabs come back after a restart. Whether you searched for chromebook tabs or tabs chromebook, the browser underneath is the same Chrome you’d find on a Windows laptop or a Mac, so most of what you already know still applies.
The fastest way to take control is a mix of keyboard shortcuts, the Search tabs arrow, and tab groups, with Overview mode and Virtual Desks for when you have more than one project open at once. None of that protects you from a Powerwash, which erases local data completely, so it helps to know what backs up and what doesn’t before you reset a Chromebook.
How Do I Manage Tabs on a Chromebook?
The short answer: use keyboard shortcuts for single tabs, tab groups for related ones, Overview mode and Virtual Desks for whole windows, and check your Startup setting if tabs disappear after a restart. Each tool solves a different problem, and they work together rather than replacing each other.
| Situation | Do this |
|---|---|
| Need to open, close, or reopen a tab fast | Ctrl+T, Ctrl+W, Ctrl+Shift+T |
| Can’t find one tab among a couple dozen | Click the Search tabs arrow at the right of the tab strip |
| Want tabs organized by project or topic | Create a tab group, or move a window to its own Virtual Desk |
| Tabs vanished after a restart or sign-in | Check Settings > search “Startup” |
| About to Powerwash or hand off the Chromebook | Back up first — Powerwash erases Downloads and local data |
None of these tools compete with each other. Shortcuts move you between tabs you already know about. Search tabs finds one you’ve lost track of. Tab groups keep related tabs visually together inside a single window. Overview mode and Virtual Desks step up a level, letting you manage entire windows the same way tab groups manage tabs. Layer them together and a Chromebook with thirty open tabs stays about as usable as one with five.
Start with the shortcuts. If you only learn one thing from this page, learn Ctrl+Shift+T. It’s the fastest fix for the single most common tab mistake: closing the wrong one.
What Are the Best Chromebook Keyboard Shortcuts for Tabs?
The core Chromebook keyboard shortcuts for tabs cover opening, closing, reopening, and jumping between tabs without touching the trackpad. They’re the same shortcuts as desktop Chrome, since a Chromebook is running the same browser underneath.
| Action | Shortcut |
|---|---|
| Open a new tab | Ctrl+T |
| Close the current tab | Ctrl+W |
| Reopen the last closed tab | Ctrl+Shift+T |
| Switch to the next tab | Ctrl+Tab |
| Switch to the previous tab | Ctrl+Shift+Tab |
| Jump to tab 1 through 8 | Ctrl+1 through Ctrl+8 |
| Jump to the last tab | Ctrl+9 |
| Close the current window | Ctrl+Shift+W |
These come straight from Google’s Chromebook keyboard shortcuts page, which is also the place to check if your keyboard uses a different layout. Every chrome os tab responds to the same shortcuts, whether it’s pinned, grouped, or on its own.
A few more tab actions don’t need the keyboard at all, but are worth knowing since they change how the other shortcuts behave. Right-click a tab to pin it, which shrinks it down to just its icon and keeps it at the far left of the strip, unaffected by Ctrl+W closing everything around it. Right-click also lets you mute a tab that’s making noise, duplicate it, or move it to a new window. Dragging a tab out of the strip entirely splits it into its own window, which is the manual version of what Virtual Desks do automatically for a whole project.
For a broader comparison of close-tab shortcuts across other browsers and operating systems, see our close-tab keyboard shortcuts guide. BelayTab has its own shortcut too, separate from Chrome’s: Ctrl/Cmd+Shift+S saves the current window as a named session — see BelayTab’s keyboard shortcuts for the rest.
How Do I Search Open Tabs on a Chromebook?
Click the Search tabs arrow at the right end of the tab strip and start typing to filter your open tabs by title or URL. It’s the fastest way to find one tab once you’ve got more open than fit on screen.
This is a Chrome feature, not something unique to ChromeOS, so it works the same in Chrome for Windows, Mac, or Linux. It searches tab titles and addresses, not the text inside the pages, so it won’t find a phrase buried in an article unless that phrase is also in the title.
It’s most useful the moment you stop being sure which window a tab is even in. On a Chromebook with a smaller screen than a typical laptop, that happens sooner than you’d expect: once a tab strip runs out of room, tabs shrink down to favicons only, and titles disappear from view entirely. Search tabs skips the guesswork and takes you straight to the one you’re thinking of. If a crowded tab strip is a regular problem rather than an occasional one, it’s also worth trying Chrome’s vertical tabs layout, which trades the horizontal strip for a sidebar with room for full titles.
- Search tabs. Finds one tab by name inside your current window, fast.
- Tab groups. Bundles related tabs under a name and color, in one window.
- Virtual Desks. Separates whole windows and apps by project, not just tabs.
How Do I Create and Use Tab Groups on a Chromebook?
Right-click any tab and choose “Add tab to new group” to start a chromebook tab groups workflow that folds related tabs into one named, colored bar. It keeps a busy tab strip readable without closing anything.
- Right-click a tab (or tap and hold on a touchscreen). Choose “Add tab to new group.”
- Name the group and pick a color. Both are optional, but a name makes the group easier to scan later.
- Drag more tabs into the colored bar to add them to the group, or drag a tab out to remove it.
- Click the colored bubble to collapse the group down to just its name, or click again to expand it.
Groups stay in the window they were created in. Closing that window closes the group along with it, unless you’ve saved the session somewhere first. Right-clicking a group’s name bar also gives you a few more options: ungroup the tabs back into the regular strip, close every tab in the group at once, or move the whole group into a new window if it’s grown into its own project.
Chromebook tab groups are especially useful for the browsing patterns a laptop-first device tends to encourage: one group for a class or meeting’s reference tabs, one for a shopping comparison you’re not ready to close, one for a handful of tools you keep coming back to during the day. Color alone does a surprising amount of work here, since you can often tell which group you want by glancing at the color before you’d have time to read the name. See how BelayTab handles tab groups for more on how they carry over into a saved session.
How Do I Use Overview Mode to See All My Windows and Tabs?
Press the Show windows key, usually located near the top row of a Chromebook keyboard, to open Overview mode and see every open window at once. It’s the fastest way to check what you have open across multiple windows, not just tabs inside one.
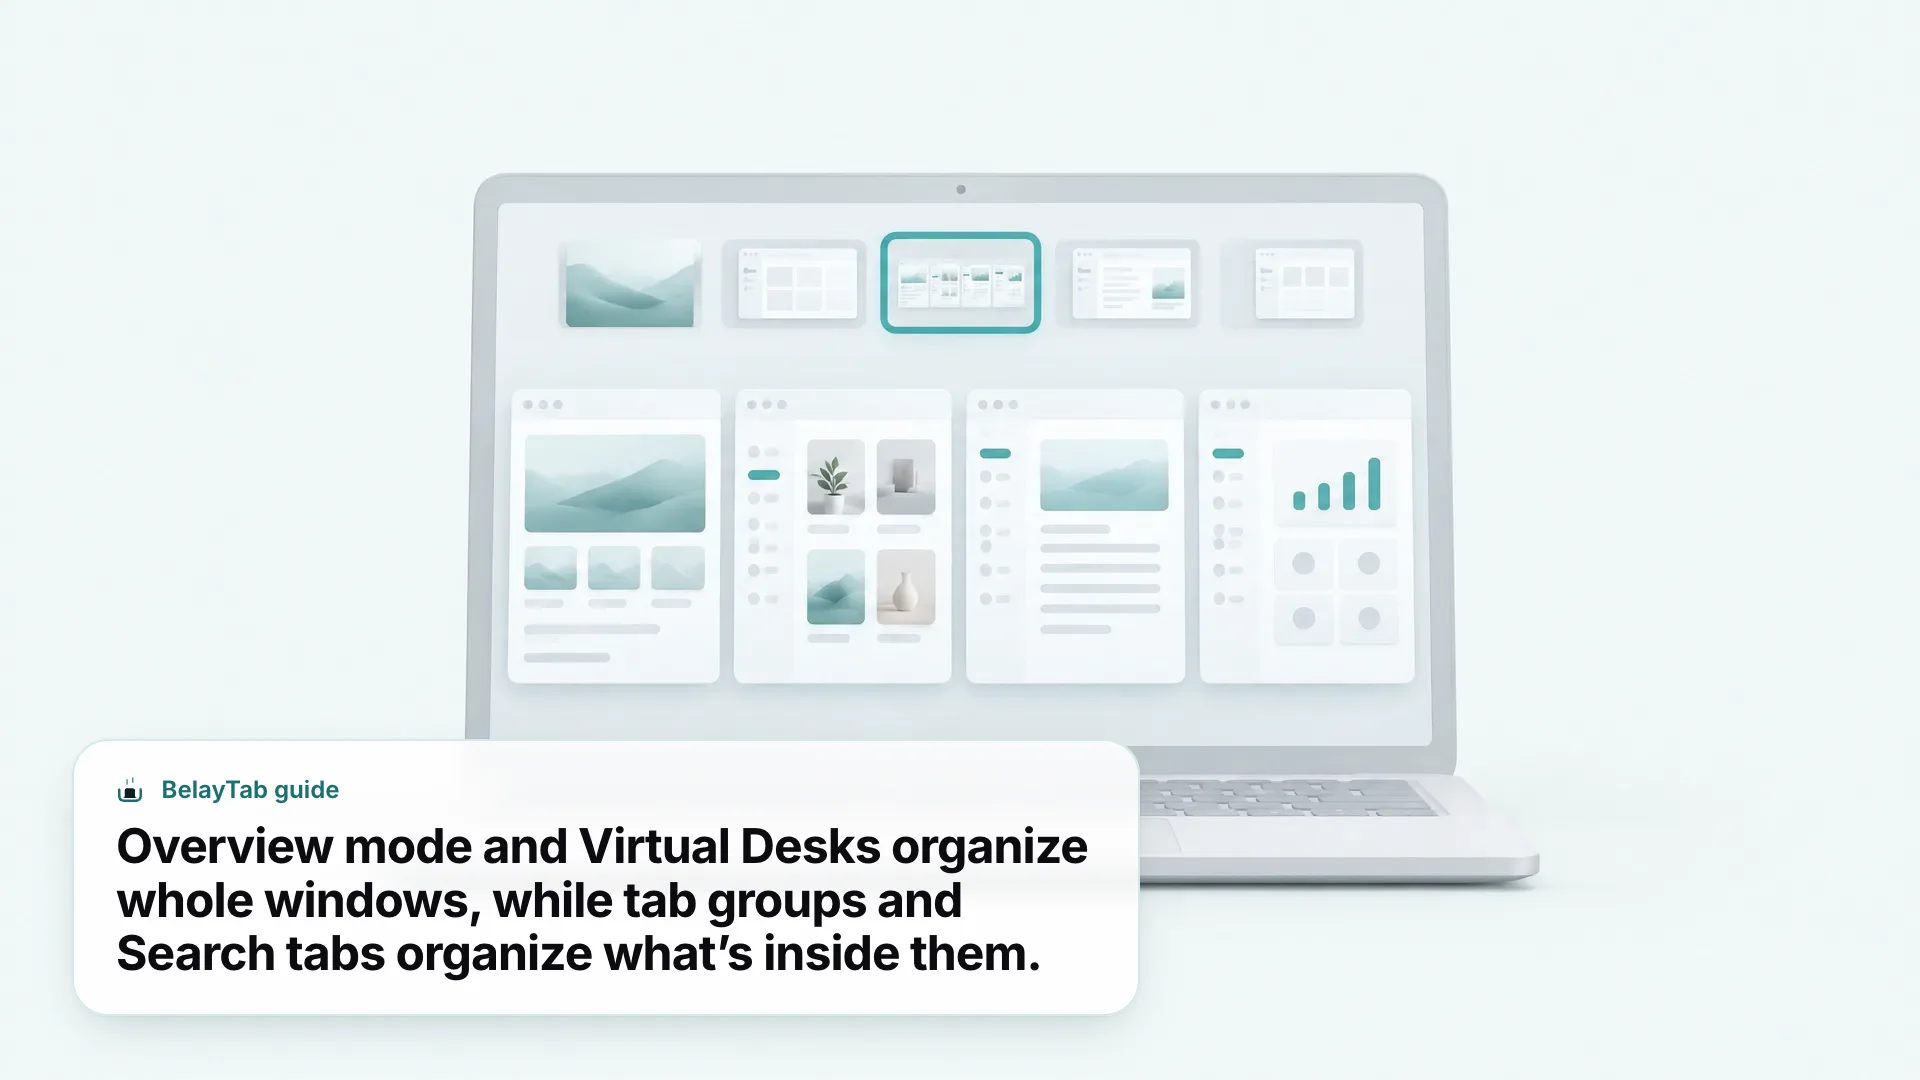
The Show windows key also doubles for screenshots: press Ctrl plus the Show windows key for a full screenshot, or Shift+Ctrl plus the Show windows key to capture part of the screen. From Overview mode, you can click a window to switch to it, or drag one into a new Virtual Desk.
For a quicker, lighter version of the same idea, hold Alt and press Tab to cycle through open windows one at a time, then use the arrow keys, the trackpad, or a tap to land on the one you want. It’s less visual than the Show windows key, but faster when you already know roughly which window you’re headed for and don’t need the full grid.
How Do I Use Virtual Desks to Organize Tabs by Project?
Virtual Desks let you keep separate sets of windows, each with its own tabs, on different desktops that you switch between with a shortcut or a swipe. They’re the right tool when tab groups aren’t enough because you want entire windows kept apart, not just tabs inside one window.
- Open Overview mode. Press the Show windows key.
- Select “New desk” at the top of the screen, or press Shift+Search+=.
- Move a window into the new desk by dragging it up into the desk row, or use Shift+Search+[ or Shift+Search+] to send the active window to the desk on either side.
- Switch desks with Search+[ or Search+], or by clicking a desk thumbnail in Overview mode.
A common pattern is one desk for work tabs and another for personal browsing, or one desk per active project. Each desk keeps its own windows, tab groups, and open apps, so switching desks is closer to switching computers than switching tabs.
Virtual Desks and tab groups solve related but different problems, and it’s worth being deliberate about which one you reach for. Reach for a tab group when everything belongs in the same browsing context and you just want it visually bundled. Reach for a new desk when a project has its own windows, its own apps, and you’d genuinely rather not see any of it while you’re doing something else.
Students switching between coursework and personal browsing, and anyone sharing one Chromebook between a couple of roles during the day, tend to get the most out of desks specifically because the separation is visual as well as functional: closing your laptop lid or switching desks makes the other context disappear from view without actually closing anything.
What Happens to My Tabs When My Chromebook Restarts?
Whether your tabs come back after a restart depends on your Chromebook’s Startup setting, not on anything automatic in Chrome itself. ChromeOS gives you three choices: always restore your previous apps and tabs, ask before restoring, or start fresh every time.
| Event | What happens to your tabs |
|---|---|
| Restart or sign out and back in | Restored automatically, or on request, based on your Startup setting |
| ChromeOS or Chrome browser update | Not affected — a routine update doesn’t erase your profile data |
| Powerwash (factory reset) | Erased — Downloads, local browsing data, and unsynced extension data are wiped |
- Open Settings and use the search box at the top to type “Startup.”
- Choose “Always restore” to bring back your previous apps and tabs automatically after every restart or sign-in, or “Ask every time” for a prompt first.
- Restart once to confirm the setting behaves the way you expect before you count on it.
This is a ChromeOS setting for restoring sessions, separate from the Chrome browser’s own “Continue where you left off” option under Chrome’s start-up page settings. On a Chromebook, the ChromeOS Startup setting is the one that decides what happens after the device itself restarts.
It’s also worth keeping Ctrl+Shift+T in mind as a separate fallback. If the Startup setting is off, or you closed one tab on purpose and want it back rather than your whole previous session, reopening it manually is faster than changing a setting. If Chrome’s own restore keeps failing you, our guide to restoring tabs in Chrome walks through every fallback, including BelayTab’s restore feature, in more depth.
Do My Tabs Survive a Chromebook System Update?
Yes. A routine ChromeOS or Chrome browser update does not erase your profile, so your tabs, bookmarks, tab groups, and extension data are unaffected. Updates install in the background and apply on the next restart, which is a very different process from a factory reset.
BelayTab adds an extra layer here regardless: it backs up its own database before every one of its own updates, so even an unusual update sequence leaves you with a version to restore from. That’s separate from ChromeOS’s own update process, which runs on its own schedule and doesn’t touch what’s stored inside individual extensions or your Chrome profile.
Does a Powerwash Delete My Tabs and Saved Sessions?
Yes. A Powerwash erases all user data on the Chromebook’s hard drive, including every file in Downloads, local browsing data, and any extension storage that hasn’t been backed up somewhere else. It’s a full factory reset, not a cleanup.
There’s no confirmation step buried later that gives you a second chance to save something you forgot. The official Powerwash instructions walk through signing out, pressing Ctrl+Alt+Shift+R from the sign-in screen, and choosing Restart, then Powerwash, then Continue — after which the device wipes itself and starts the out-of-box setup from scratch.
People usually Powerwash a Chromebook for one of a few reasons: selling or handing it off, fixing a stuck or misbehaving system, or a school or work device being reset between users. In every case, the erasure is the same. There’s no “keep my browsing data” option partway through.
This matters specifically for anyone using BelayTab’s free, local features: automatic snapshots, version history, and the 30-day trash all live in the browser’s local storage on that device, and a rolling export file (if you’ve turned that on) writes to Downloads. Both are wiped by a Powerwash unless you’ve moved them off the device first.
How Do I Protect My Tabs Before a Powerwash or Switching Chromebooks?
Protect your tabs before a Powerwash by getting anything local off the device first: copy export files out of Downloads, and turn on cloud-based sync so your session history lives in the cloud instead of on the Chromebook. Local-only backups don’t help once the reset finishes.
- Check your latest sessions in BelayTab’s Recovery screen and confirm what you’d lose if the device were wiped right now.
- Move any exported session file out of Downloads, since Powerwash erases that folder along with everything else local.
- Turn on Sync if you want your sessions to follow you automatically, in both Chrome (for bookmarks and signed-in sites) and BelayTab Sync (for your saved sessions and 90 days of cloud version history) — see how to set up Sync.
- Powerwash, sign back in, and reinstall BelayTab from the Chrome Web Store, then restore from Sync or your saved export.
The Recovery screen is worth checking even outside of a Powerwash. It brings together automatic snapshots, sessions you’ve deleted but not emptied from trash, the browser’s own list of recently closed windows, and any export files, in one place, so you can see at a glance whether something you need is backed up anywhere or only exists in the window you currently have open.
Managing chromebook keyboard shortcuts, tab groups, Overview mode, and Virtual Desks covers day-to-day tab chaos well. What they can’t do is survive a factory reset on their own, which is the one place worth planning for before you need it rather than after.
Most of the time, none of this needs a second thought: you open tabs, close some, group a few, and restart without losing anything. The moment it’s worth pausing is right before a Powerwash, a device handoff, or setting up a brand-new Chromebook. That’s when the difference between what’s stored locally and what’s synced to the cloud stops being theoretical and starts being the thing standing between you and your open tabs.