






If you’ve ever gone looking for a file you downloaded weeks ago on a Chromebook and found nothing there, you’re not imagining it. Chromebook downloads land in a folder that Google itself calls temporary, and under the right conditions ChromeOS will clear it out without asking. That’s a very different model from a Windows or Mac downloads folder, which just sits there filling up until you deal with it.
This guide covers where Chromebook downloads actually go, how to find them in the Files app, why they sometimes vanish, and what you can do to make sure the ones you care about stick around. We’ll also cover what survives a Powerwash versus a full Recovery, since those two get confused constantly. Along the way, we’ll point out the one thing built-in Chromebook tools don’t protect at all: your open browser tabs, which is a separate problem BelayTab is built to solve.
Where Do Chromebook Downloads Go?
Chromebook downloads go into the Downloads folder inside the Files app, which Google describes as “a temporary folder on your Chromebook’s hard drive.” That single word (temporary) is the whole story. It’s not a permanent archive the way a downloads folder on other operating systems tends to be treated in practice.
Every file you save from Chrome, whether it’s a PDF, a photo, or an installer, defaults to that folder unless you’ve changed the setting. You’ll find it by opening the Files app and looking under “My files” in the left sidebar, where Downloads sits alongside a “Play files” entry used for Android app storage.
Here’s a quick reference for the most common Chromebook downloads situations, before we get into the details.
| Situation | Where it stands |
|---|---|
| Default download location | Files app > My files > Downloads |
| Chromebook low on storage | ChromeOS may auto-delete files sitting in Downloads |
| You want a file to stick around | Move it to Google Drive or change the default folder |
| Saving straight to the cloud | Press Ctrl+S, choose Google Drive from the dialog |
| Work or school account | A separate “Shared drives” section appears in the sidebar |
| After a Powerwash | Downloads folder is erased; Google Drive files are untouched |
| After a full Recovery | Everything on the drive is erased, downloads included |
The practical upshot: treat Downloads as a landing zone, not a filing cabinet. If a file matters, it needs to move somewhere else — and we’ll cover exactly how in a few sections.
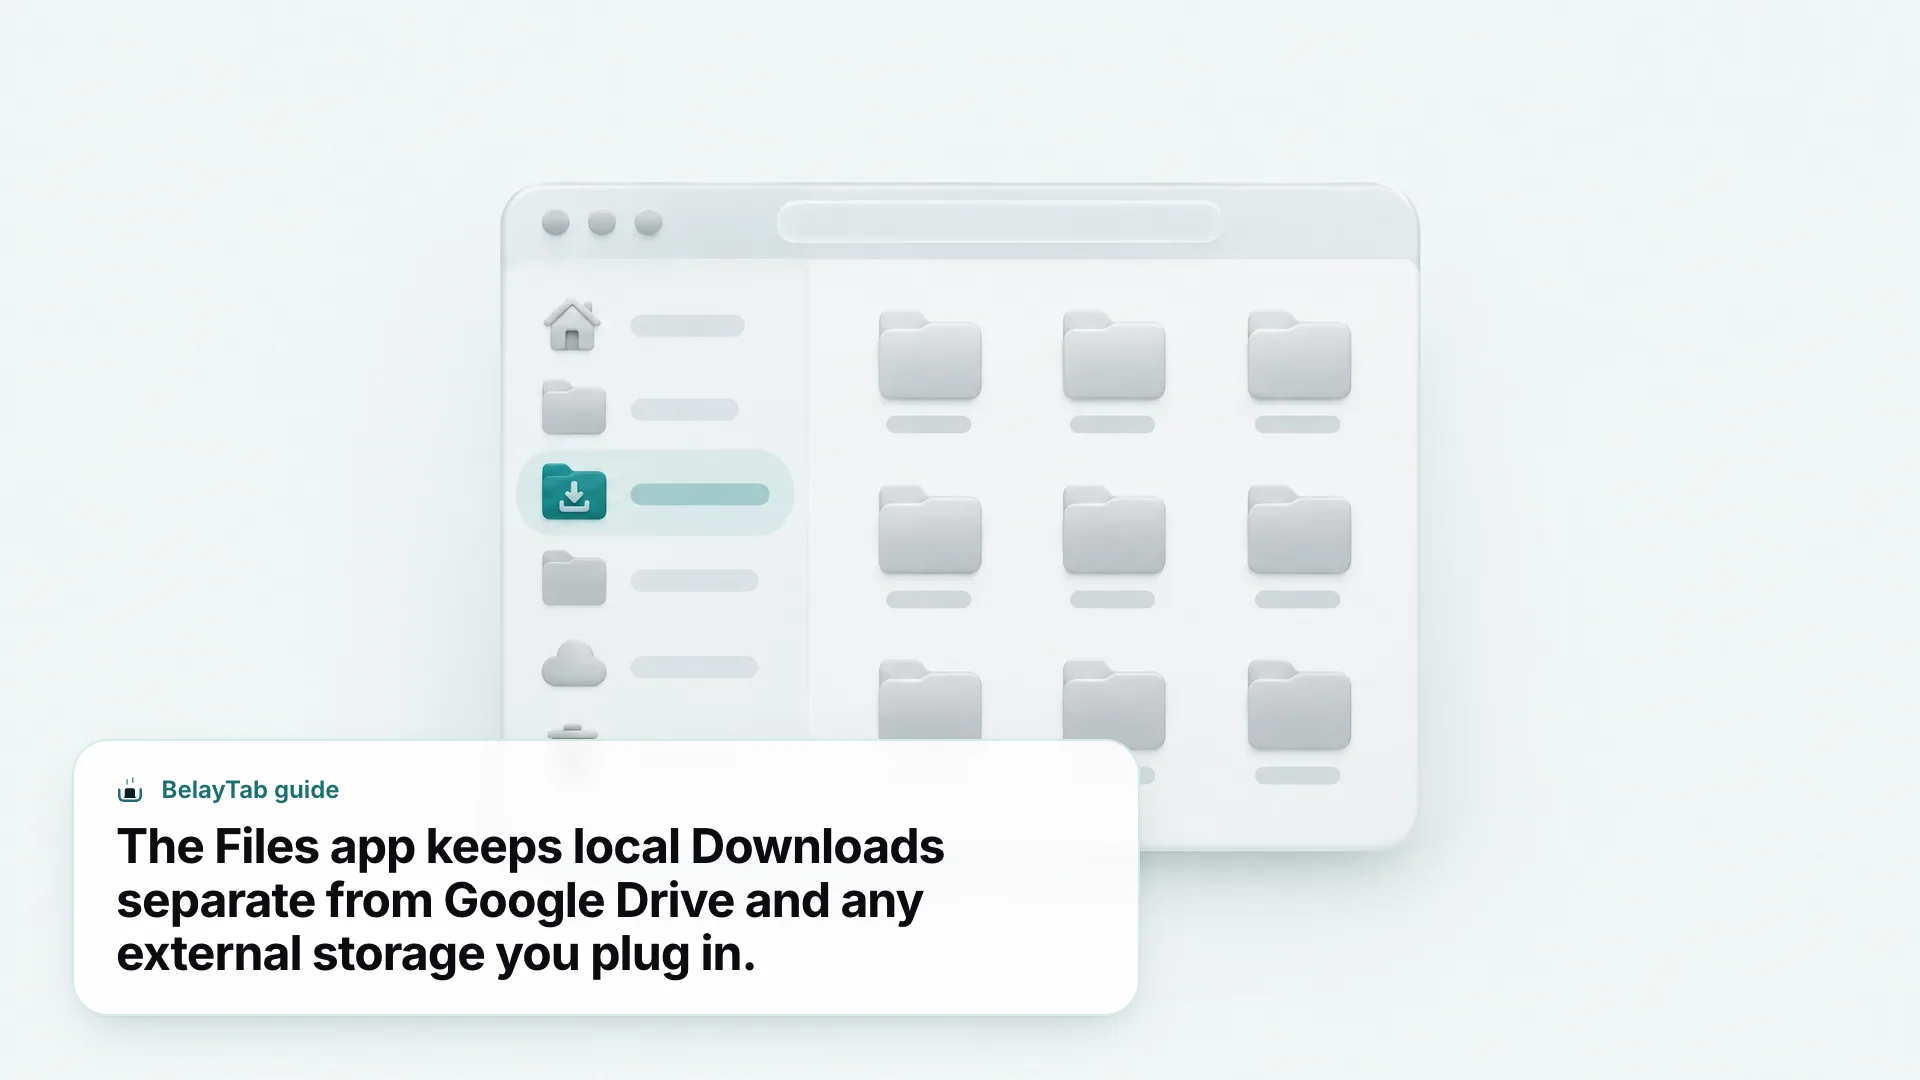
Downloads is not the same as Google Drive. My files (which contains Downloads) lives only on the device. Google Drive is cloud storage tied to your Google Account. They look similar in the Files app sidebar but behave very differently when something goes wrong.
How Do I Find the Downloads Folder in the Files App?
You find it by opening the Files app and clicking “My files” in the left-hand sidebar, where Downloads appears as its own folder. The Files app is the closest thing a Chromebook has to a Finder or File Explorer window, and it’s where every download, screenshot, and offline Drive file ultimately shows up.
The sidebar is organized into a few distinct sections, and understanding them saves a lot of confusion later:
- My files — contains Downloads and Play files (storage used by Android apps). This is local to the device.
- Google Drive — a separate section for your cloud storage, including My Drive.
- Shared drives — appears only for work or school accounts, for team-owned files.
- External storage — any USB drive or SD card you plug in, plus mounted zip files, each shows up as its own entry.
That last point matters more than people expect. If you’ve ever plugged in a USB stick and wondered why it didn’t just merge into your existing folders, that’s by design — external storage stays clearly separated so you always know exactly where a file physically lives.
- My files. Downloads and Play files, stored locally; wiped by a Powerwash or aggressive storage cleanup.
- Google Drive. Cloud storage tied to your Google Account; survives resets, reinstalls, and even a lost device.
- Shared drives. For work or school accounts, team-owned files that aren’t tied to one person.
- External storage. USB drives and mounted zip files, listed as their own sidebar entries.
If you’re new to Chromebooks generally and want the bigger picture beyond just downloads, our guide to what a Chromebook is covers how ChromeOS handles storage, apps, and updates at a higher level.
How Do I Change Where Chromebook Downloads Are Saved?
You change it from Chrome’s own settings, not from the Files app. Open the Chrome menu (the three dots), go to Settings, then Downloads, and select “Change” to pick a new default folder — Google Drive, for instance, instead of the local Downloads folder.
- Open Chrome’s menu. Click the three dots in the top right corner of the browser.
- Go to Settings. Choose Settings from the menu (on some setups this is under More tools > Settings).
- Open Downloads. Find the Downloads section in the settings sidebar.
- Select Change. Pick a new default save location, such as a folder inside Google Drive.
- Or toggle “Ask where to save each file.” This flips the behavior entirely: instead of a fixed default, Chrome prompts you every time.
That last option is worth a second look. If you download all kinds of things (receipts, screenshots, installers, random PDFs from a class or a work project) a single default folder gets messy fast. Being asked every time adds one extra click, but it forces you to decide where a file belongs the moment you save it, which beats sorting through a pile later.
Change the default once, not the habit. If you mostly download work documents, point the default straight at a Google Drive folder. You’ll spend thirty seconds changing a setting instead of remembering to move files manually every week.
As of September 2026, this Downloads settings path is the same across Chrome on Chromebooks; if your school or work device is managed, an administrator may have locked it, and you’ll see the setting grayed out.
Why Do Downloaded Files Disappear on a Chromebook?
Downloaded files disappear on a Chromebook because ChromeOS can automatically delete files sitting in the Downloads folder when the device runs low on storage space. This is documented Google behavior, not a glitch, and it only targets that one folder — not Google Drive, not external storage.
It makes a certain kind of sense once you know the reasoning: many Chromebooks ship with modest local storage, and Google designed the OS around the assumption that anything worth keeping should live in the cloud. Downloads, in that worldview, is scratch space.
The catch is that Google is explicit about one more detail: deleting a file from the Downloads folder is permanent and can’t be undone. There’s no Recycle Bin, no “restore from trash” for that specific folder. Whatever ChromeOS clears out under low-storage conditions is simply gone.
This is exactly the kind of thing people learn the hard way, usually right before a deadline. If you download a signed contract, a boarding pass, or a set of course notes and leave it sitting in Downloads for weeks, you’re relying on the Chromebook never running low on space in the meantime. That’s not a bet worth making on anything you need.
How Do I Move Downloads to Google Drive or Another Folder?
You move a file out of Downloads by opening it in the Files app and copying or moving it into Google Drive, or another folder that isn’t subject to automatic cleanup. Google’s own guidance is direct: to protect a downloaded file from auto-deletion, move it out of Downloads into a permanent folder using the Files app, or change your default save location going forward.
- Open the Files app and select Downloads. Under My files in the sidebar.
- Select the files you want to protect. Click or tap to choose one or several.
- Move or copy them into Google Drive. Send them to My Drive, or a shared drive if you have one available.
- Verify they landed correctly. Open the Google Drive section and confirm the files are there before deleting the originals.
- Delete the originals from Downloads (optional). Once confirmed in Drive, you can clear the local copies to free up space.
This is worth doing as a periodic habit rather than a one-time cleanup. Set a reminder every couple of weeks, or just get in the habit of moving a file the moment you know you’ll need it later. Waiting until storage runs low means ChromeOS might beat you to it.
If you’d rather skip the two-step process entirely, changing Chrome’s default download folder (covered above) means new downloads never touch the temporary folder in the first place. That’s the lower-maintenance option if most of your downloads are things you want to keep.
How Do I Check Chromebook Storage and Free Up Space?
You check storage by selecting the time in the bottom right corner, then going to Settings > System preferences > Storage management. That page breaks down exactly what’s eating your space, category by category.
| Category | What it includes |
|---|---|
| Downloads | Files sitting in the Downloads folder |
| Offline files | Google Drive files saved for offline use |
| Browsing data | History and form entries |
| Android storage | Installed Android apps and their data |
| Other users | Files belonging to other accounts on the device |
Once you’re looking at the breakdown, Google recommends a few concrete moves to free up space: delete files you no longer need (or move them to Google Drive), clear browsing data and download history, uninstall apps you don’t use, or remove extra user accounts that aren’t actively needed. Removing a user account only clears that account’s locally stored files. It doesn’t touch their Google Account data, so bookmarks and settings tied to their account are safe.
It’s also worth understanding what happens if you ignore all of this. When storage runs critically low, ChromeOS may step in and automatically delete downloaded files, browsing data, cache, or unused accounts on its own to reclaim space. That’s the mechanism behind those mysteriously vanished downloads from earlier in this guide. It’s not random, it’s the system protecting itself from running out of room.
How Do I Save a File Directly to Google Drive on a Chromebook?
You save straight to Google Drive by pressing Ctrl+S from wherever you’re viewing the file, then choosing Google Drive and picking My Drive or a shared drive in the save dialog. This skips the Downloads folder entirely, so there’s nothing to remember to move later.
Press Ctrl + S whenever you’re viewing a document you want to keep for good, and pick Google Drive instead of the default location.
This is the fastest fix for the whole “downloads vanish” problem, because it removes the temporary folder from the equation. The trade-off is you have to remember to do it every single time, which is exactly the kind of small, repeated decision that’s easy to forget under deadline pressure. For that reason, I’d combine this habit with changing your default download folder rather than relying on Ctrl+S alone for everything.
If you’re on a work or school Chromebook, you’ll likely see Shared drives as an option alongside My Drive in that same save dialog. Shared drives belong to a team or organization rather than one person, which matters if you’re collaborating on something that shouldn’t live only in your personal Drive.
How Do I Manage External Storage and Downloads on a Chromebook?
You manage external storage the same way you manage Downloads (through the Files app) but each USB drive, SD card, or mounted zip file appears as its own separate entry in the sidebar rather than merging into My files. That separation is deliberate, and it’s genuinely useful once you get used to it.
It means you always know, at a glance, whether a file is sitting on the Chromebook’s internal drive, on Google Drive, or on a physical device you could unplug and lose. That distinction becomes important the moment you’re deciding what to back up before a Powerwash or before handing a Chromebook off to someone else.
A few practical notes on external storage:
- Files copied to a USB drive or SD card are not affected by Chromebook storage cleanup, since they’re not part of the internal drive at all.
- Safely ejecting external storage from the Files app before physically removing it avoids corrupting files mid-write.
- Mounted zip files behave like a temporary folder in the sidebar — open them to browse contents without fully extracting first.
What Happens to Downloads During a Powerwash or Reset?
Powerwash erases all local user data on a Chromebook, which includes the entire Downloads folder, installed apps, and local settings — but it does not touch files already saved to Google Drive or external storage. That distinction trips a lot of people up right before they do it.
Here’s how the three levels compare, from least to most destructive:
| Action | Effect on downloads |
|---|---|
| Restart | No data erased at all; downloads untouched |
| Powerwash | Downloads folder and all local data erased; Google Drive and external storage untouched |
| Recovery | Entire hard drive erased, including downloads; more destructive than Powerwash, used to reinstall ChromeOS |
To trigger a Powerwash, hold Ctrl+Alt+Shift+R at the sign-in screen, select Restart, then confirm with Powerwash and Continue.
Hold Ctrl + Alt + Shift + R at the sign-in screen to begin.
On enterprise or school-managed devices, Powerwash also performs a cryptographic erase that clears encryption keys, though Google notes not every trace is guaranteed to be removed on those managed devices. It’s also worth knowing that administrators can disable Powerwash entirely on a managed Chromebook — if the option isn’t there, that’s why, and you’d need to contact IT or your school instead.
Recovery is a different, more severe tool. It reinstalls ChromeOS entirely and permanently erases everything on the hard drive, downloads included, which is why Google reserves it for situations where the OS itself is corrupted or won’t boot — not as a routine cleanup step. If you’re weighing which one you need, our breakdown of the Chromebook Recovery Tool walks through when Recovery is warranted versus when a simpler reset is enough.
Back up before either one. Both Powerwash and Recovery erase the Downloads folder for good. If anything in there matters, move it to Google Drive or external storage first. There’s no undo once you confirm.
How Do I Protect Tabs and Downloads Together on a Chromebook?
You protect them with two different tools, because they’re two different problems: Google Drive (and good download habits) protect your files, while a dedicated extension protects your open browser tabs. ChromeOS doesn’t treat these the same way, and conflating them is how people end up losing one or the other.
Downloads are files sitting on disk — Google gives you Drive, Storage management, and the Files app to manage them, as covered throughout this guide. Open tabs are a different kind of data entirely: they live in Chrome’s memory, not on disk, and a crash, an accidental window close, or a Powerwash can wipe them out just as easily as it wipes a temp folder.
This is where BelayTab fits in specifically for tabs, not files. It’s a free extension, with no account required, that saves your open tabs as named sessions you can restore later — a whole window, selected tabs, or all your windows at once. It keeps tab groups (names and colors intact), pinned tabs, and tab order exactly as you left them.
The parts that matter most when things go wrong:
- Automatic snapshots every 5 minutes and whenever a window closes, so you don’t have to remember to save manually.
- Version history — the last 20 versions of each session, and restoring never overwrites a version, it just adds a new one.
- A 30-day trash and one Recovery screen that combines snapshots, deleted sessions, the browser’s own recently closed windows, and export files in a single place.
- Optional Sync ($4/month or $36/year) if you want the same sessions across a Chromebook and another machine, with 90 days of cloud version history and web access at app.belaytab.com.
- Install BelayTab. Get it from the download page for your browser.
- Save a window. Click the icon or press Ctrl+Shift+S to save your current tabs as a named session.
- Let automatic snapshots run in the background. No further action needed — every open window is captured every 5 minutes and on close.
- Restore from the Recovery screen when needed. Open snapshots, deleted sessions, or recently closed windows in one place and bring tabs back into a new or current window.
Press Ctrl + Shift + S (Cmd + Shift + S on Mac) to save your current tabs at any time.
BelayTab does have real limits worth knowing: it can’t recover tabs that were open before it was installed, it can’t fix a Chromebook that’s crashed or frozen, and it doesn’t suspend or discard tabs to save memory. It’s purely there to make sure the tabs survive whatever happens next. For memory issues specifically, that’s a separate topic covered in our guide to Chrome tabs on a Chromebook.
If you’re setting up a new or shared Chromebook and want both sides covered (files backed up to Drive and tabs backed up automatically) pairing Google’s own storage tools with BelayTab’s session saving covers the two things that are genuinely easy to lose on any Chrome setup, Chromebook or not.
Downloads and tabs fail in different ways, but the lesson is the same either way: the default, temporary location is never the safe one. Move what matters, automate what you can, and you won’t be the person re-downloading a file or rebuilding forty tabs the night before something’s due.