






Chromebooks are built for browsing, which is exactly the problem when the site you’re trying to avoid is one click away. Learning how to block websites on a Chromebook doesn’t require a workaround, though — Google already built the tools for it. Which one you use depends entirely on who controls the device: a personal Chromebook, a kid’s Chromebook managed through Family Link, or a school or work Chromebook locked down by an IT admin.
This guide walks through all three, including exactly which menu to open and what each blocking level actually does. It also covers something most guides skip: what happens to your blocking rules (and your open tabs) after a factory reset. If you’re about to Powerwash a Chromebook you’ve spent time locking down, read the last section first.
How Do You Block Websites on a Chromebook?
The method depends on who owns the account signed into the Chromebook: Family Link for a child’s device, Chrome Enterprise policies for a school or work device, or a Chrome Web Store extension for your own personal one. There’s no single “block websites” toggle baked into ChromeOS settings, because Google splits the feature by who’s supposed to be in control.
That split matters more than it sounds. A parent managing a ten-year-old’s homework laptop needs a completely different tool than an IT admin locking down two hundred school devices, and a different one again from someone who just wants to block a distracting site on their own machine during work hours. Mixing these up wastes time. You can’t set a Family Link filter on a school-issued Chromebook, and an IT admin’s Admin console isn’t something a parent has access to.
| Situation | Best tool | Who controls it |
|---|---|---|
| Child’s Chromebook | Family Link content filters | Parent, via the Family Link app |
| School-issued Chromebook | Chrome Enterprise URL Blocklist | IT admin, via the Google Admin console |
| Work Chromebook | Chrome Enterprise URL Blocklist | IT admin, via the Google Admin console |
| Your own personal Chromebook | A Chrome Web Store blocking extension | You |
- Family devices. Set content filters and individual site blocks from the Family Link app on your phone, not on the Chromebook.
- School or work devices. Blocks come from the district or company’s IT admin through Chrome Enterprise policy. You can’t override them locally.
- Personal devices. No built-in blocker exists for adult accounts; you’ll need an extension if you want to block sites for yourself.
If you just want to block distracting sites for yourself and not a whole household, skip ahead to the personal-Chromebook section below rather than setting up a family filter you don’t need.
How Do You Set Up Family Link to Block Websites on a Chromebook?
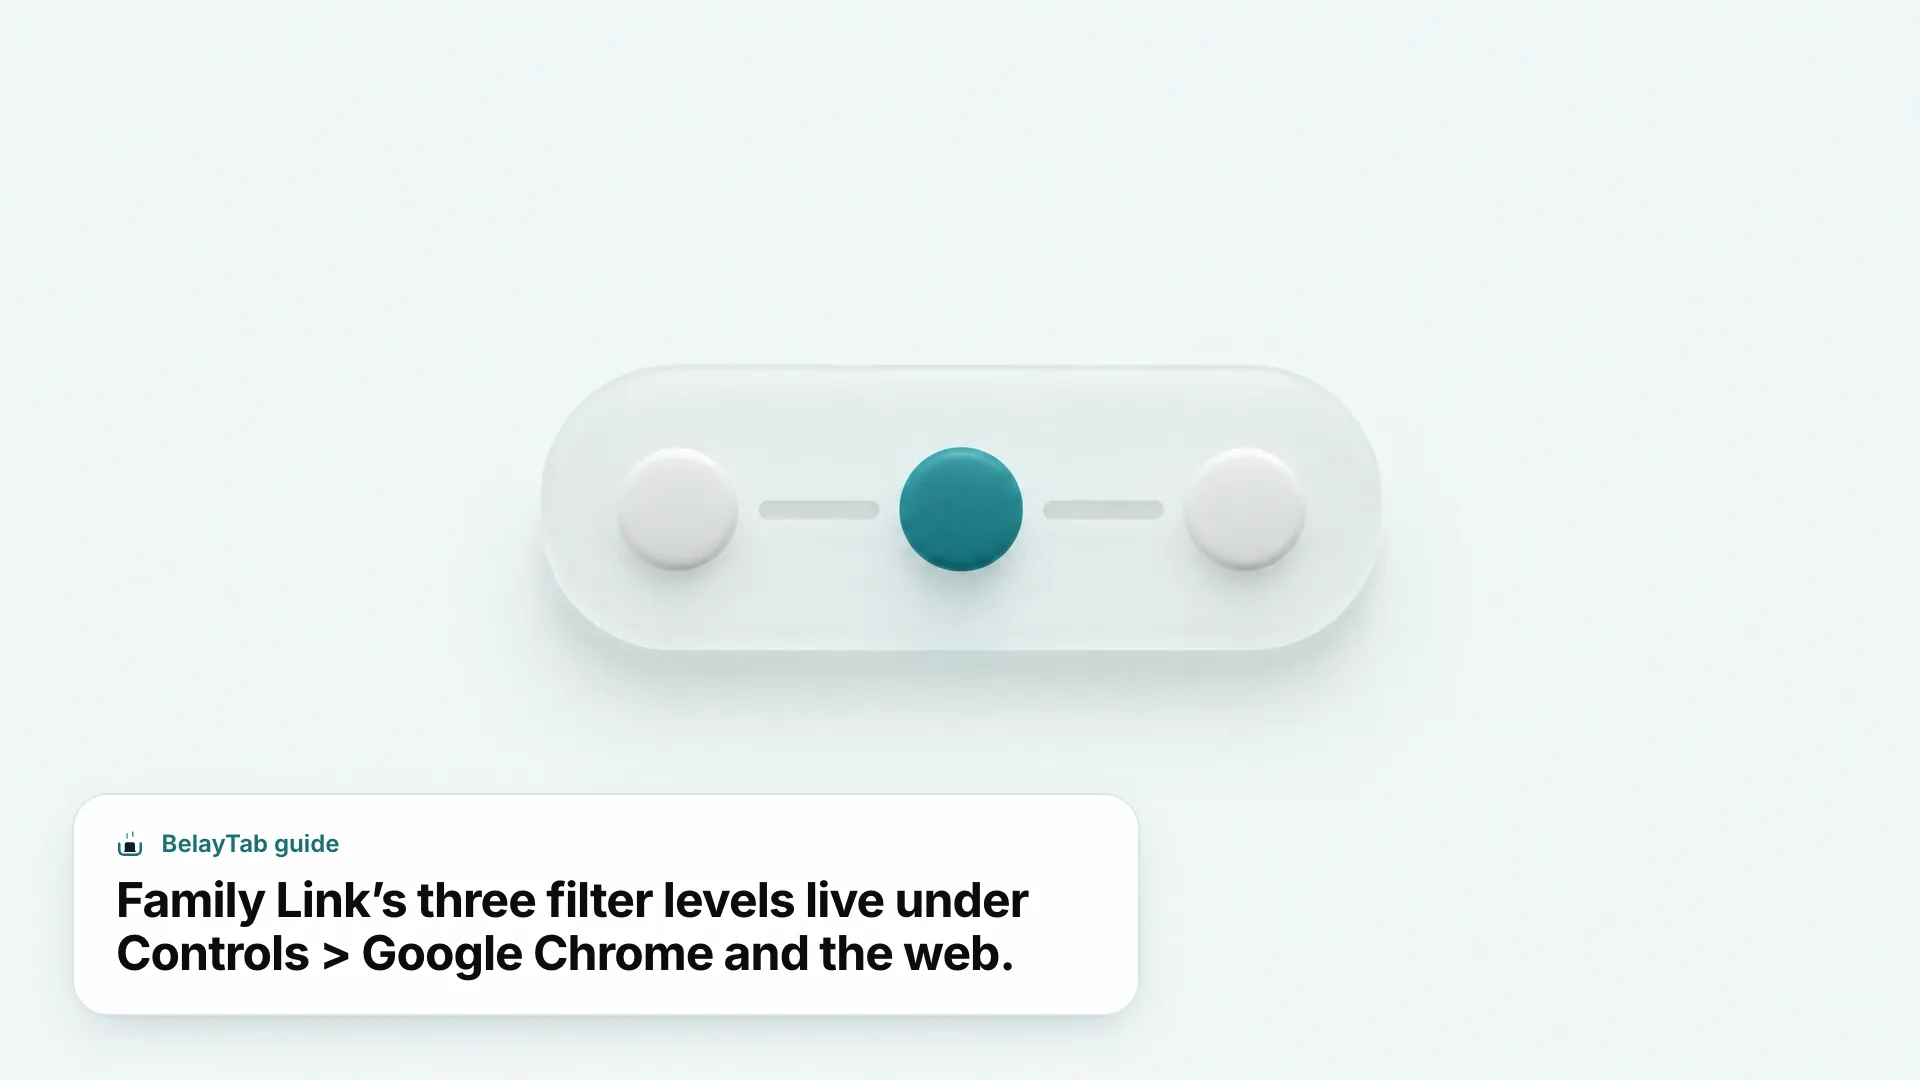
You set the filter level in the Family Link app, not on the Chromebook itself, and Family Link offers three levels to choose from. “Allow all sites” lets everything through except what you individually block, “Try to block explicit sites” filters adult content automatically, and “Only allow approved sites” blocks everything except what you specifically approve.
-
Open Family Link on your phone. Sign in as the parent and select the child whose Chromebook you’re setting up.
-
Go to Controls. Then tap Google Chrome and the web to reach the content-filter options.
-
Choose a filter level. Pick Allow all sites, Try to block explicit sites, or Only allow approved sites.
-
Save it. The change applies the next time the child’s Chromebook checks in, which is usually within a few minutes if it’s online.
This setup needs ChromeOS 71 or later on the Chromebook itself. That’s an old version at this point, so it’s rarely a problem unless you’re setting up a device that’s been sitting in a drawer for years — worth a quick check under Settings before you assume the filter isn’t working. Google’s Family Link content filters help page covers the full menu path if yours looks slightly different.
Match the level to the kid, not the default. For younger kids, “Only allow approved sites” is the safest starting point even though it takes more upkeep. For a teenager who needs open access for research and school sites, “Try to block explicit sites” plus a short list of individually blocked sites is usually the better balance.
One thing worth knowing before you pick a level: a blocked child isn’t locked out forever. Family Link shows a request option right on the blocked page, so if the filter catches something legitimate, your kid can ask and you can approve it from your phone without touching the Chromebook at all.
How Do You Block or Allow Specific Websites in Family Link?
You add individual sites from the same Family Link app, under Controls, Google Chrome and the web, Manage sites, then Approved/Blocked sites. This is where you fine-tune whatever the general filter level lets through or catches by mistake.
-
Open the child’s Controls. Tap Google Chrome and the web, then Manage sites.
-
Choose Approved sites or Blocked sites. Which tab you use depends on whether you’re adding an exception or a restriction.
-
Tap Add a website. Type or paste the full address of the site you want to block or approve.
-
Confirm. The site appears in the list immediately and applies the next time the Chromebook syncs.
This is also the exact path for cleaning up mistakes later — nothing you set here is permanent in the sense of being hard to change. If you block the wrong domain or approve something you shouldn’t have, you come back to this same Manage sites screen and remove it.
Blocking a domain doesn’t cover its subdomains. Blocks and approvals apply per subdomain unless you block the whole domain. Blocking google.com, for example, doesn’t automatically block photos.google.com. You’d need to add that address separately if you want it covered too.
Keep the list short if you can. A handful of specific blocks layered on top of “Try to block explicit sites” is easier to maintain than dozens of individual entries, and it’s less likely to accidentally catch a site your kid needs for homework.
Why Are Some Sites Still Getting Through After You Block Them?
Usually it’s one of three things: the subdomain rule catching you out, an outdated ChromeOS version that doesn’t support site controls, or your child using the built-in request-permission option to get temporary access. None of these are bugs. They’re how Family Link is designed to work, even when the result feels like the block “isn’t working.”
The subdomain issue trips people up the most. If you blocked youtube.com but a specific subdomain or a mirrored version of the site loads anyway, check whether the exact address matches what you entered — a near-miss won’t be caught. The fix is adding the additional address to the blocked list rather than assuming the feature is broken.
The version requirement is worth ruling out early if nothing at all seems to be filtering. Family Link’s site controls need ChromeOS 71 or newer, so an ancient or unmanaged device might simply not support the feature yet. Check for pending updates before troubleshooting anything else.
And the request option is by design, not a leak. It’s meant to give kids a way to ask rather than just hit a dead end. If requests are piling up faster than you’d like, that’s usually a sign the filter level is set stricter than the child’s actual homework needs, not that something’s misconfigured.
How Do You Block Websites on a School or Work Chromebook?
You don’t — on a managed Chromebook, the IT admin blocks sites through Chrome Enterprise’s URL Blocklist and URL Allowlist policies in the Google Admin console, and individual users can’t add their own blocks on top of that. If you’re a student or employee trying to reach a site the district or company has restricted, the fix is asking IT, not looking for a local workaround.
If you’re on the other side of this (the admin setting the policy) the blocklist and allowlist work together: the blocklist restricts specific addresses or patterns, and the allowlist carves out exceptions on top of a broader block. Both are managed centrally and pushed out to every device signed into the organization’s accounts, which is why the setting looks completely different from what a parent sees in Family Link.
Worth knowing if you manage Chromebooks for a family instead of an organization: Family Link and Chrome Enterprise aren’t interchangeable. Family Link is built for a parent-child relationship on a personal Google Account, while Chrome Enterprise policy is built for organizations with centrally managed devices. You can’t apply enterprise-style blocking to a Family Link account, and vice versa. Google’s own Chrome Enterprise URL Blocklist and Allowlist policy documentation is the reference IT teams use to set this up correctly.
What Are the Limits of Chrome Enterprise’s Website Blocking Policies?
The main limit is scale and scope: the URL Allowlist policy supports up to 1,000 exceptions, and blocking a URL doesn’t stop scripts already running on a loaded page (like an XMLHttpRequest call) from still reaching that address in the background. Both are worth knowing before you assume a policy is airtight.
The 1,000-exception cap rarely bites smaller organizations, but a large school district or company juggling dozens of approved learning tools, vendor sites, and internal tools can bump into it faster than expected. If you’re planning a big rollout, it’s worth mapping out your approved list before you start adding entries one at a time.
None of this makes Chrome Enterprise blocking weak. It’s the standard tool schools and businesses use for exactly this purpose. It just means you should think of it as blocking new navigation, not sealing off a domain entirely from every script running in the browser.
Can You Block Websites on a Personal Chromebook Without Family Link?
Yes — install a website-blocking extension from the Chrome Web Store, since ChromeOS doesn’t ship a standalone site blocker for adult accounts outside of Family Link and admin policy. This is the route for anyone who wants to block a distracting site on their own machine without setting up a whole family structure around it.
Search the Chrome Web Store for “website blocker” or “block sites” and you’ll find several options built for exactly this — most let you set a list of blocked domains and a schedule for when the block is active. Since this guide’s fact sheet doesn’t cover any specific extension’s features, the safest approach is to read the permissions it asks for before installing: a blocker only needs to read and modify the pages you visit, not your full browsing history or account data.
One more option worth mentioning: technically nothing stops you from setting up your own Chromebook as a Family Link “child” device under a separate parent account, purely to get access to the content filters. It’s a workaround rather than the intended use, and it adds friction — the request-to-unblock flow is built for a parent approving a kid, not for approving yourself — so an extension is usually the simpler path.
How Do You Review or Remove a Blocked Website Later?
Go back to the same Family Link path (Controls, Google Chrome and the web, Manage sites, Approved/Blocked sites) find the entry, and remove it. There’s no separate “undo” screen; editing the list is the removal process.
This is worth checking periodically, especially if you set filters up months ago and haven’t looked since. Kids’ schoolwork changes, new learning platforms get added to a curriculum, and a block that made sense in third grade might just be getting in the way by sixth. A five-minute review of the Approved/Blocked sites list every school term catches most of this before it turns into a stream of unblock requests.
If you’re managing a Chrome Enterprise policy instead, the review happens in the Google Admin console rather than Family Link, and it’s generally the IT admin’s job to audit the blocklist and allowlist periodically — particularly since the allowlist’s 1,000-exception limit means old entries should get cleaned out before new ones are needed.
Either way, the underlying lesson is the same: blocking lists aren’t “set once and forget.” Revisit them the way you’d revisit any other setting that governs what someone can access, especially as needs change.
What Happens to Your Blocked-Site Settings and Downloads After a Powerwash?
Your blocked-site settings survive a Powerwash, because Family Link filters and Chrome Enterprise policies live on your Google Account or in the Admin console, not on the device. What doesn’t survive is anything stored locally on the Chromebook, including the entire Downloads folder.
That distinction catches people off guard. Powerwash erases all local user data (Downloads, installed apps, local settings) while your Google Account data isn’t stored on the device at all, so it comes right back the moment you sign in again after the reset. Recovery is more destructive than Powerwash: it reinstalls ChromeOS entirely and erases the whole drive, typically used when the OS itself won’t boot. Google’s Powerwash help page and its guide to restart, hard reset, and recovery differences cover exactly what each option erases.
| Reset type | Erases local data? | Erases Google Account settings? |
|---|---|---|
| Restart | No | No |
| Hard reset | No | No |
| Powerwash | Yes — Downloads, apps, local settings | No — Account data lives off-device |
| Recovery | Yes — entire drive | No — Account data lives off-device |
Your export file lives in Downloads too. If you use BelayTab’s rolling JSON export to Downloads as a backup of your tab sessions, remember that Powerwash and Recovery both wipe that folder along with everything else local. Move the export to Google Drive before resetting, or turn on BelayTab Sync so your session history lives in the cloud instead of a folder the reset can reach.
To trigger a Powerwash from the sign-in screen, hold Ctrl + Alt + Shift + R, select Restart, then choose Powerwash and Continue. If you’re on a managed school or work device, your admin may have disabled Powerwash entirely — in that case you’d need to contact IT rather than trigger it yourself. For the fuller breakdown of when to use each reset type, see our guide to resetting a Chromebook.
How Do You Protect Your Tabs Before Resetting a Chromebook?
Back up anything that only exists locally before you reset — your blocking rules will reapply automatically through your Google Account, but your open tabs, saved sessions, and any local export files won’t come back on their own. This is the step people skip because blocking settings feel like the “important” part of the setup, when tabs and session data are what’s at risk.
-
Check what’s local. Anything sitting in Downloads, including a BelayTab export file, gets erased by both Powerwash and Recovery.
-
Move it or sync it. Copy the export file to Google Drive manually, or turn on BelayTab’s scheduled export and point future exports somewhere that survives a reset.
-
Turn on Sync if you want it automatic. BelayTab Sync keeps 90 days of cloud version history for your sessions, so there’s nothing to remember to copy manually before a reset.
-
Reset, then sign back in. Your Google Account settings, including Family Link filters, reapply automatically; your BelayTab sessions restore from the cloud if Sync was on, or from the Drive copy if you moved the export file yourself.
This is also a good moment to check your recovery options in general, not just around resets — the same recovery screen that helps after a Powerwash also covers Chrome freezes, accidental window closures, and everything in between. If your Chromebook has been acting up before you even get to the reset, our guide on a Chromebook that keeps freezing covers the troubleshooting steps worth trying first, and our Chromebook Recovery Utility guide explains the more drastic option if Powerwash alone doesn’t fix things. For the shortcuts you’ll use constantly while you’re in and out of settings screens, our Chromebook shortcuts guide and tab management guide are worth bookmarking, and if you’re mid-update rather than a full reset, see what updating a Chromebook does to your tabs. You can grab BelayTab itself from the download page before you start any of this.