






Picture this: you skimmed a great flight-deal roundup three days ago, closed the tab without bookmarking it, and now you can’t remember which site it was on. Or maybe you just want to know exactly when you looked something up last Tuesday. Chrome keeps a record of nearly everything you’ve visited, and searching it is faster than most people realize — once you know where the search box lives and what it can, and can’t, do.
This guide covers how to search Chrome history by keyword, why there’s no true date-range picker on the History page itself, how to find a specific URL, and how to clear or delete entries safely. It also covers a distinction worth knowing: Chrome history tracks pages you visited, not sessions you had open. If what you actually lost was a window full of tabs rather than a page you can search for, that’s a different problem — and one BelayTab was built to solve.
How Do You Search Chrome History by Keyword?
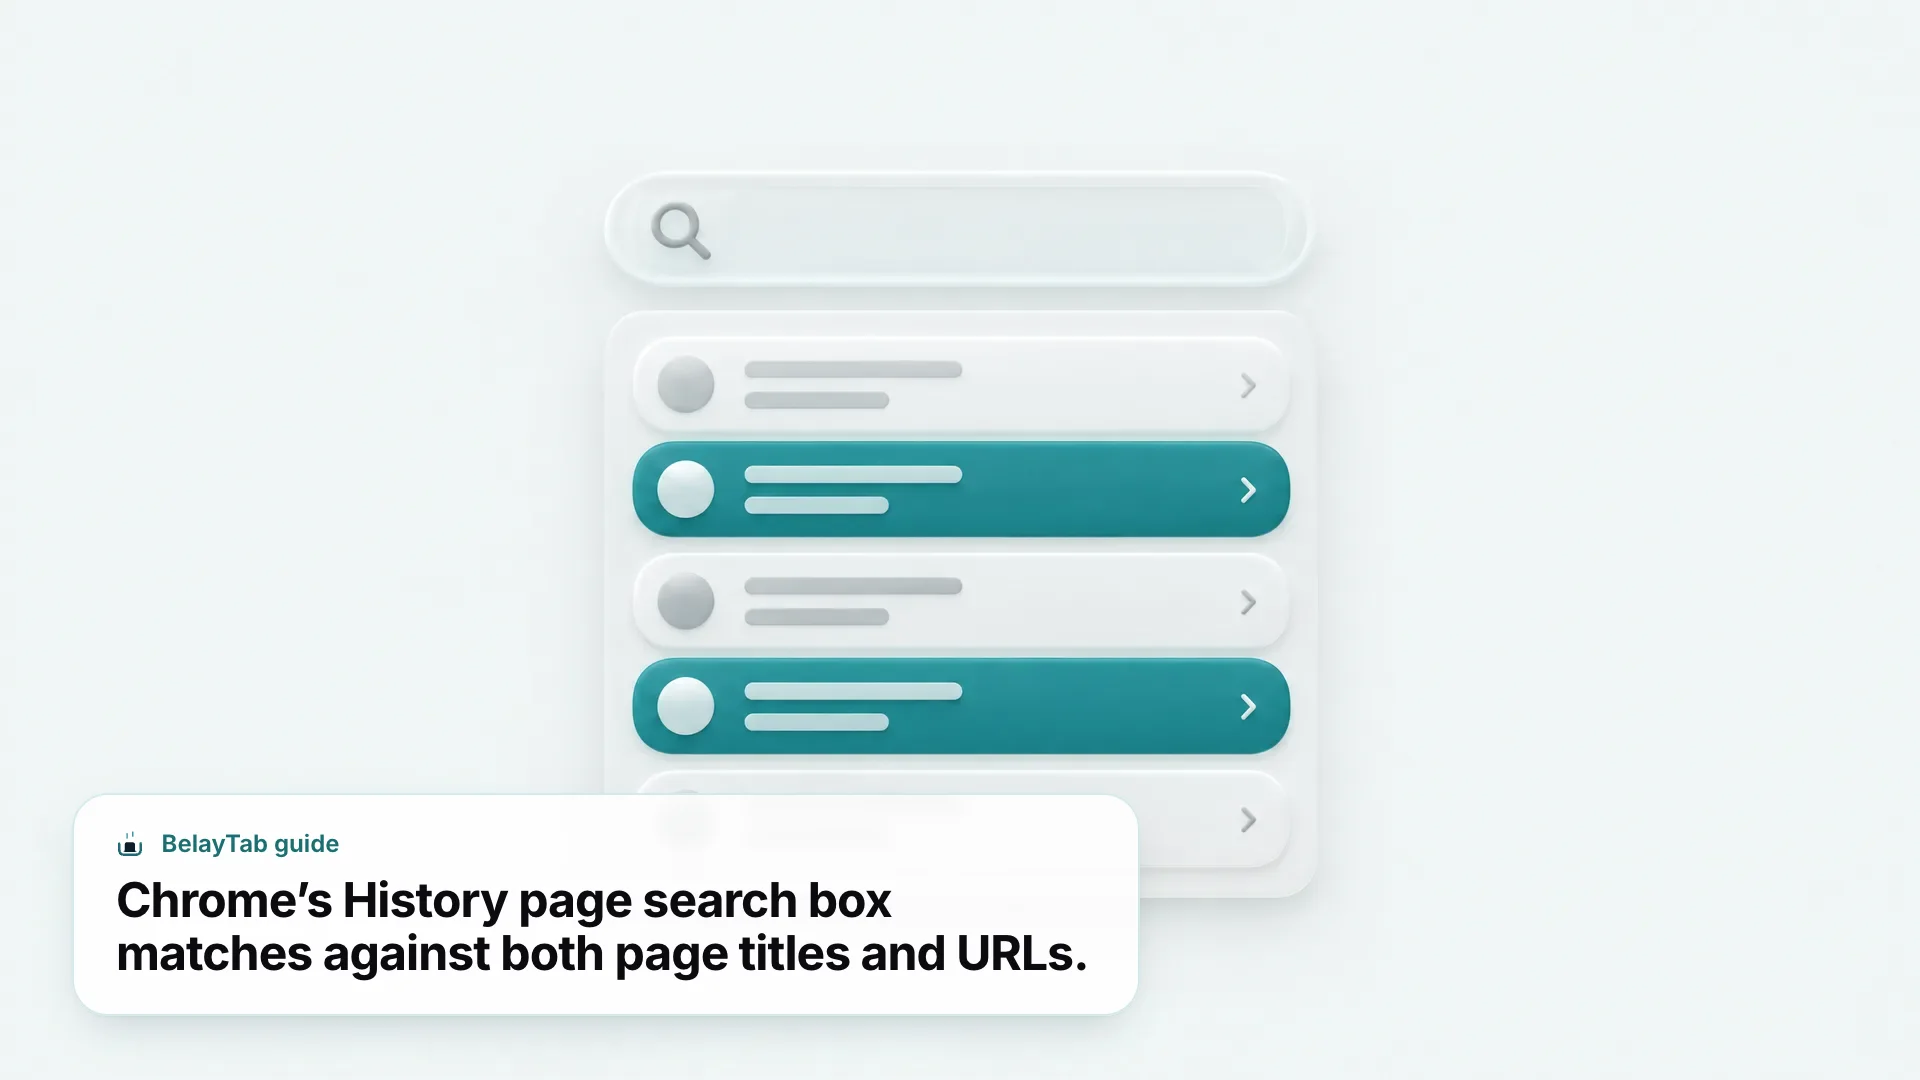
Open Chrome’s History page and type your keyword into the search box at the top — Chrome matches it against page titles and web addresses. Press Ctrl + H (Cmd + Y on Mac) to jump straight there, or open the three-dot menu and choose History.
The search box is the fastest way to find something you know you’ve seen, even if you can’t remember the exact site. Type part of a word (“recipe,” “invoice,” a company name) and Chrome filters the whole list down to matches. This works whether the term appears in the page’s title or somewhere in the URL itself, which is handy when you remember a domain name but not what the article was called. According to Chrome’s History help page, the same search box also supports checking off entries and deleting them individually, so you don’t need a separate menu for small cleanups.
Here’s the full flow if you’ve never used it:
- Open History. Press Ctrl + H (Cmd + Y on Mac), or open the Chrome menu and choose History.
- Click the search box. It’s at the top of the page, above the list of visited sites.
- Type a keyword or part of a URL. A fragment like “belaytab” or “confirmation” works fine. You don’t need the exact title.
- Scan the results. Chrome lists matches newest first, grouped by day, so recent visits are easiest to spot.
For quick reference before we go further, here’s what to do in the most common situations:
| Situation | What to do |
|---|---|
| Find a page by a word in its title | Press Ctrl + H and type the word into the search box |
| Find every visit to one site | Type part of the URL into the same search box |
| Narrow results to a time range | Use the Clear browsing data time-range picker, or My Activity if you’re signed in |
| Search history on a Chromebook | Same search box — ChromeOS uses the identical History page |
| Search history in Incognito | Not possible — Incognito never writes to local history |
Can You Search Chrome History by Date?
Not directly — Chrome’s History page has a keyword search box, not a date-range picker, so you can’t ask it to show “everything from March 12” the way you can filter email by date. What you can do is scroll: results are grouped by day, so if you know roughly when you visited a page, you can browse to that date and read down the list.
There are two closer options. First, the Clear browsing data dialog (Ctrl + Shift + Delete) does let you pick a time range (Last hour, 24 hours, 7 days, 4 weeks, or All time) but that’s for deleting, not browsing. Second, if you’re signed in to Chrome, your account separately tracks synced activity under Web & App Activity, which you can review at My Activity. That view supports browsing by date, which makes it a better fit than local History when you need to pin down when something happened rather than just what it was.
Combine both when you’re stuck: search the local History page by keyword first, and if that turns up too many results or none at all, switch to My Activity and browse by date instead. Between the two, most “I know roughly when but not what” situations get resolved without much digging.
How Do You Find a Specific URL in Chrome History?
Type all or part of the web address into the History search box — Chrome matches URLs the same way it matches page titles. You don’t need the full address; a distinctive chunk like a domain name or a folder path in the URL is usually enough to surface every visit to that site.
This is especially useful for sites where the page title doesn’t tell you much — think login portals, internal tools, or pages where the title just says “Dashboard” fifty times over. Searching by the URL fragment instead cuts straight to the pages that matter. If you remember a subdomain or a specific parameter that appeared in the address bar, that works too, since Chrome doesn’t require an exact match.
One thing worth knowing: the address bar itself also helps here, separately from the History page. As you type in the address bar, Chrome suggests pages from your history that match what you’re typing, which is often faster for a single result than opening the full History page at all. Use the History page’s search box when you want every match at once; use the address bar when you just need the one page back quickly.
If you’re checking whether you’ve ever visited a particular site (for research, or to rule it out during a security check) a domain-only search like “exampledomain.com” returns every page you loaded from it, sorted by date, giving you a rough timeline of your activity there without opening each page individually.
For a deeper walkthrough of everything on the History page, including how entries are organized, see our full guide to Chrome history.
How Do You Search History on a Chromebook?
The same way you would on any other Chrome install — press Ctrl + H or open the menu and choose History, then use the search box at the top. ChromeOS runs the same Chrome browser under the hood, so the History page, its search box, and its keyword matching all work identically to Windows, Mac, or Linux.
Where Chromebooks differ is in how guest sessions work. On desktop Chrome, Guest mode lives under the profile icon. On a Chromebook, you’ll instead find Guest browsing listed under the People section in Settings, or via “Manage other people” from the sign-in screen, per Google’s Chromebook guest browsing guide. A guest session on a Chromebook doesn’t save history to the device, which matters in shared setups like classrooms or family devices where several people use the same machine under different logins.
If you’re managing a Chromebook with a lot of open windows alongside your history search, our guide to Chromebook tabs covers shortcuts and tab groups, and browsing history on a Chromebook goes deeper on managing the history list itself, including what happens when a school or work account manages the device.
How Do You Clear or Delete Chrome Search History?
Press Ctrl + Shift + Delete to open Clear browsing data, pick a time range, tick “Browsing history,” and click Delete data. That removes matching entries immediately. This is the fastest way to clear search history on Chrome when you want to wipe a chunk of it at once rather than removing pages one at a time.
You get five time-range options: Last hour, 24 hours, 7 days, 4 weeks, or All time. If you only want to delete search history from Chrome for a specific event (say, gift shopping you don’t want showing up in address bar suggestions) Last hour or 24 hours usually covers it without touching anything older. For a full reset, All time clears everything the browser has recorded locally.
- Open Clear browsing data. Press Ctrl + Shift + Delete (Cmd + Shift + Delete on Mac).
- Pick a time range. Choose from Last hour up to All time, depending on how much you want gone.
- Choose what to delete. Tick Browsing history — leave cookies and cached files unchecked if you only want the history itself gone.
- Click Delete data. Chrome removes the matching entries right away, and there’s no undo button afterward.
Deleting search history on Chrome this way is permanent on that device the moment you confirm it, per Google’s Clear browsing data help page. If you only want a couple of entries gone rather than a whole time range, go back to the History page instead: check the box beside each item and select Delete, which leaves everything else untouched.
What Happens to Synced History When You Delete It?
If you’re signed in to Chrome with sync turned on, deleting history removes it from every synced device and your Google Account — not just the computer you’re using. That’s different from a browser where you’re only signed in locally, where the deletion stays on that one machine.
This matters because it’s easy to assume “delete” only affects what’s in front of you. Per Google’s sync help page, signing in to Chrome turns on sync by default, and synced data includes bookmarks, history, open tabs, passwords, and settings. Only URLs you typed or entered into the address bar get synced as history, not every page you clicked through to, which is worth knowing if your synced history looks sparser than what shows up locally.
That’s useful if you search on your laptop for something you typed on your phone earlier the same day — as long as both are signed in to the same account, the address bar entry carries across, even if the rest of that browsing session doesn’t. You can control exactly what syncs from Settings under “You and Google,” so if you’d rather keep history local to one device, that’s adjustable without turning off sync entirely. Encryption is on by default for synced data, and you can add a custom passphrase for extra protection, though there’s no official recovery path if you forget it — resetting sync and starting fresh is the practical fallback.
Can You Recover Chrome History After Deleting It?
No — once you clear history in Chrome, there’s no built-in undo, and Google states that activity erased through My Activity can’t be recovered either. Treat the Delete button as final, especially when you’re clearing a wide time range like All time.
This is one of the more common regrets people have after a quick cleanup: they meant to remove one or two entries and ended up picking a wider time range than intended. There’s no local recycle bin for history the way there sometimes is for deleted files, and no official Google tool restores it after the fact.
Deleted history is gone for good. Chrome has no undo for cleared history, and Google says activity erased through My Activity can’t be recovered either. Double-check your time range before you click Delete data.
If what you’re worried about is losing track of open work rather than a record of pages visited, that’s a separate risk with a separate fix. History and tabs aren’t the same thing: history is a log of where you’ve been, while your open tabs represent what you’re currently doing, and closing a window doesn’t automatically add every tab to a searchable list you can browse later. BelayTab handles that second problem by saving named, restorable sessions on its own schedule, independent of what you do to your history. The next section breaks down that difference in more detail.
Is Searching History the Same as Finding a Lost Tab?
No — Chrome history tracks pages you’ve navigated to, while your open tabs and windows are a separate, live state that history doesn’t capture on its own. If a browser crash, an accidental window close, or a system restart wipes out forty open tabs, searching history will only get back the ones where the URL is memorable enough to search for, not the layout, the tab groups, or the ones you never revisited from the address bar.
Chrome does offer Ctrl + Shift + T to reopen the last closed tab, and Tab Search shows recently closed tabs alongside open ones — see our guide to restoring tabs in Chrome for the full set of built-in options. But these cover recent, single-tab situations well; they get thinner the further back you go or the more tabs you lost at once.
This is where BelayTab fills a real gap rather than duplicating what Chrome already does. It snapshots every open window automatically, on a schedule and whenever a window closes, and keeps up to 20 versions of each saved session, so restoring never overwrites what you already had. Its recovery screen pulls together snapshots, deleted sessions, and the browser’s own recently closed windows in one place, so you’re not switching between History, Tab Search, and guesswork to reconstruct a session.
For background on exactly how those snapshots work, see automatic snapshots.
What Shortcuts Make Chrome History Search Faster?
A handful of keyboard shortcuts cover almost everything you’d do around Chrome history, and learning them saves you the trip through the menu every time. Ctrl + H (Cmd + Y on Mac) opens the History page directly; Ctrl + Shift + Delete jumps straight to Clear browsing data.
Tab Search is the other shortcut worth knowing, even though it searches open and recently closed tabs rather than full browsing history. It’s easy to confuse the two. On Windows and Linux, Ctrl + Shift + A opens it; on Mac, click the small down-arrow icon at the end of the tab strip instead. If you’re trying to find a page you have open right now rather than one you visited days ago, Tab Search is usually the faster route.
| Shortcut | What it does |
|---|---|
| Ctrl + H | Opens the History page (Cmd + Y on Mac) |
| Ctrl + Shift + Delete | Opens Clear browsing data |
| Ctrl + Shift + A | Opens Tab Search on Windows/Linux (Mac: click the tab strip’s arrow icon) |
| Ctrl + Shift + N | Opens an Incognito window (Cmd + Shift + N on Mac) |
None of these need memorizing all at once. If you only take one away, make it Ctrl + H. It’s the fastest path into the search box this whole guide is about, and it works the same on every desktop platform Chrome runs on. For the complete list of Chrome shortcuts beyond history, see our Chrome keyboard shortcuts guide.
Does Search History Work the Same in Incognito, Guest Mode, and Other Profiles?
No — none of these save anything to the local history you’d search later, which is exactly the point of using them. Incognito windows, Guest sessions, and even your regular profile’s history are kept separate from each other, so what you can search depends on which one you were using at the time.
Incognito windows don’t add browsing history, cookies, or form entries to the device once every Incognito window is closed, though the sites you visit, your employer or school’s network, and your ISP can still see that activity while it’s happening. It’s private from local history, not invisible everywhere. Guest mode on Chrome works the same way locally: nothing saves once you close the guest session.
Profiles are different from both. Each Chrome profile keeps its own separate history, bookmarks, passwords, and extensions, so if you can’t find something you know you searched for, check whether you were in a different profile at the time — a common mix-up on shared computers or when switching between work and personal accounts.
- Incognito. Nothing gets added to local history, and closing the last Incognito window discards it for good.
- Guest mode. Same idea — no history saved to the device; “Close guest” also wipes that session’s cookies and site data.
- Other profiles. Each profile keeps separate history, bookmarks, and passwords, so switching profiles changes your search results too.
If you regularly juggle Incognito, guest sessions, or multiple profiles, our guides to incognito tabs and Chrome profiles go deeper into how each one behaves and what does or doesn’t carry over between them.