






A Chromebook keeps bookmarks the same way any Chrome browser does — a saved link, sitting in a bar or a folder, waiting for you to click it again. The tricky part isn’t adding them. It’s keeping them organized as the list grows, deleting the ones you don’t need, and knowing what actually happens to your Chromebook bookmarks when you reset the device, hand it back to IT, or hand it over to a school that manages it for you.
This guide covers all of that in order: adding a bookmark, showing or hiding the bookmarks bar, using the Bookmark Manager, deleting one bookmark or fifty at once, setting up a folder system that won’t collapse under its own weight, and what survives a Powerwash. It also covers something bookmarks were never built to do (save your open tabs) and what to reach for instead if that’s the problem you’re really trying to solve.
| Action | Shortcut |
|---|---|
| Bookmark the current page | Ctrl + D |
| Show or hide the bookmarks bar | Ctrl + Shift + B |
| Move keyboard focus to the bookmarks bar | Alt + Shift + B |
| Open the Bookmark Manager | Ctrl + Shift + O |
How Do You Add Bookmarks on a Chromebook?
Press Ctrl + D on any open page to add it to your Chromebook bookmarks. A small dialog pops up over the address bar with the page’s title already filled in, ready for you to adjust before you confirm.
That dialog is where the actual decisions happen, and it’s worth slowing down for a second instead of clicking Done on autopilot. You can rename the bookmark to something shorter than the page’s default title — most sites hand you a title built for a browser tab, not for a bookmarks bar with barely any room to spare — and you can choose which folder it lands in instead of letting it default to one long, unsorted list. If you skip that step now, you’re the one who has to sort it out later, usually right when you’re in a hurry to find something you saved months ago.
- Open the page you want to save. Any tab, any site, any time.
- Press Ctrl+D. The bookmark dialog appears with a suggested name already filled in.
- Pick a folder, edit the name, then click Done. The bookmark is saved immediately and shows up wherever you filed it.
If you’d rather not touch the keyboard at all, bookmarks can also be added, found, and edited from Chrome’s own menu — Google’s help page on creating and editing bookmarks walks through the menu-based version for anyone who prefers clicking over shortcuts. Either method saves the exact same bookmark in the exact same place, so it comes down to habit rather than one being more “correct” than the other. For the rest of Chrome’s Chromebook shortcuts beyond bookmarking (window switching, screenshots, tab management) the complete Chromebook keyboard shortcuts list is worth a bookmark of its own, ideally filed somewhere you’ll find it again.
How Do You Organize Bookmarks on a Chromebook?
Group related bookmarks into folders so the bookmarks bar stays short and the whole collection stays searchable instead of just growing sideways forever. A flat list of forty bookmarks is nearly as hard to scan as having no bookmarks at all — folders are the difference between a tool you use and a graveyard you scroll past.
Open the Bookmark Manager and you’ll find the tools for creating folders, moving bookmarks between them, and renaming things as your projects change and old links stop mattering. Think in terms of how you’d search for something later rather than how it felt natural to save it in the moment: a folder named after a client, a subject, or a school term holds up over months in a way that a folder named “stuff” or “misc” never does. The goal isn’t a perfect taxonomy. It’s a system simple enough that you’ll keep using it instead of abandoning it after the second week.
It also helps to separate bookmarks you use daily from ones you’re only keeping for reference. Daily tools earn a spot on the bar itself; reference material belongs in a folder you open deliberately, not one competing for space with things you click every hour. If you want a deeper look at bar-specific behavior across different browsers, not just Chrome, the guide on the bookmarks bar in every browser covers those differences. And if you’re weighing whether Chrome’s built-in manager is enough for how you work or you want something with more structure, Chrome bookmarks: the complete guide goes further into folder strategy and search behavior.
How Do You Show or Hide the Bookmarks Bar on a Chromebook?
Press Ctrl + Shift + B to toggle the bookmarks bar on or off. It’s a one-key decision, and you can flip it right back if you decide you preferred it the other way.
Hiding the bar buys back a thin strip of vertical space, which matters more on a Chromebook than it does on a larger desktop monitor. Screens run smaller, keyboards and trackpads take up their own real estate, and every row of pixels counts more when you’re working in split screen with a document open next to your browser tab. Showing the bar again trades that sliver of space for one-click access to whatever you’ve pinned there, which is worth it if you revisit the same handful of sites every single day — email, a calendar, a shared drive, whatever your routine looks like.
There’s also a keyboard-only path into the bar itself, separate from just toggling it visible. Pressing Alt + Shift + B moves keyboard focus straight to the bookmarks bar, so you can arrow between bookmarks and press Enter to open one without ever reaching for the trackpad. It’s a small thing on its own, but if you’re navigating a Chromebook mostly by keyboard (a common setup in classrooms and shared devices where trackpads take a beating) it saves a real amount of time across a day, especially compared to hunting with a cursor through a bar you can barely see.
How Do You Open the Bookmark Manager on a Chromebook?
Press Ctrl + Shift + O to open the Bookmark Manager in its own full tab. Unlike the small dropdown you get from right-clicking the bookmarks bar, this is a dedicated page built for managing your entire collection at once, not just the handful of bookmarks visible on the bar.
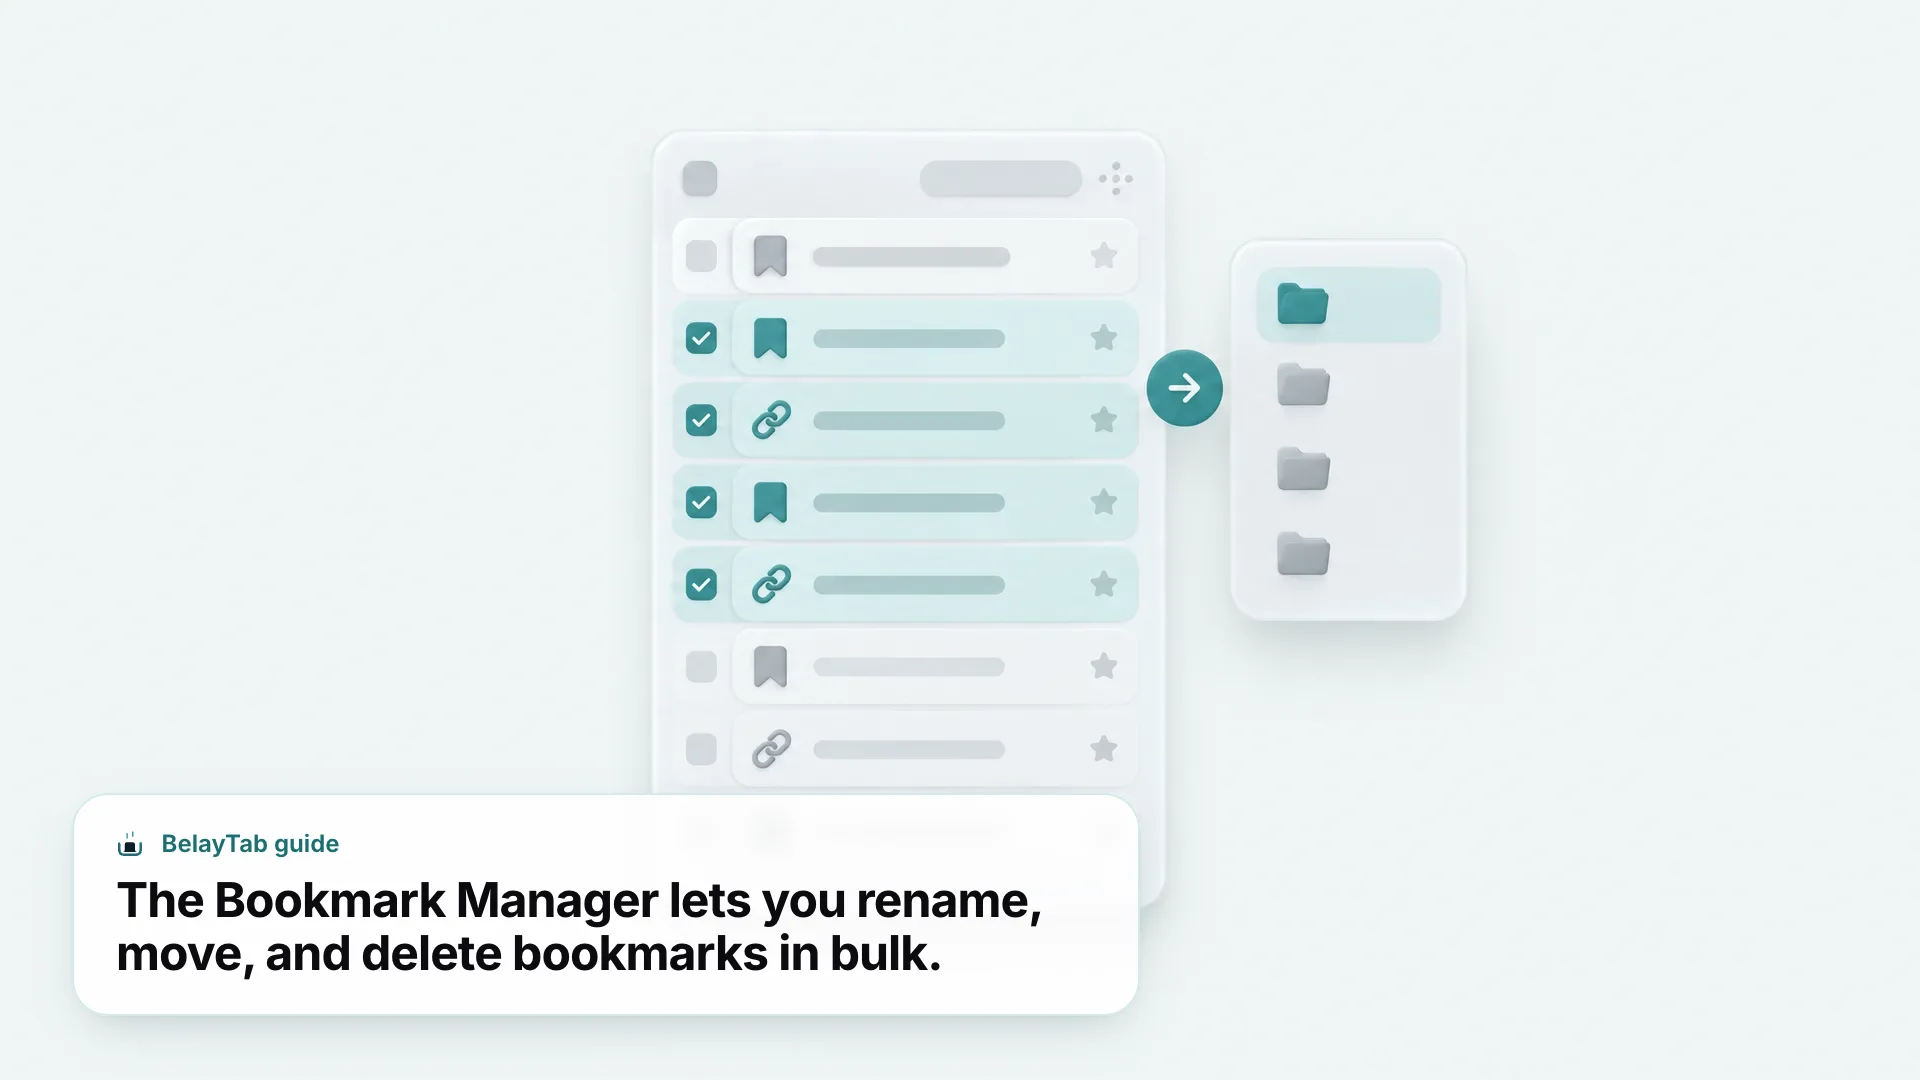
From the Bookmark Manager you can search across every bookmark you own instead of scrolling through a folder tree hoping you remember where you filed something. That search box is the real advantage once your list gets past a couple dozen entries, which happens faster than most people expect. It’s also the fastest place to rename bookmarks in batches, drag one into a different folder without opening a submenu first, or spot duplicates you saved twice without noticing because you forgot you’d already bookmarked the page weeks earlier.
If you manage bookmarks on a shared or school-issued Chromebook, this full-page view is worth checking every so often rather than only when something breaks. A five-minute cleanup here (deleting dead links, merging near-duplicate folders, renaming anything vague) keeps the bar itself usable for whoever picks up the device next, including a future version of you who’s forgotten the context behind half of what’s saved. For a broader comparison of manager-style tools beyond what’s built into Chrome by default, see best bookmark managers in 2026.
How Do You Remove or Delete Bookmarks on a Chromebook?
Open the Bookmark Manager with Ctrl + Shift + O, select the bookmark you want gone, and remove it using the manager’s delete controls — right-click the bookmark or select it and use the delete option shown there. That’s the answer whether you think of it as removing a bookmark, deleting one, or getting rid of it. They’re all the same action described a few different ways, and they all land in the same place.
You don’t have to open the full manager just to clear out a single bookmark sitting on the bar, either. You can work directly from the bar itself the same way (select it and delete it) which is quicker if you’re only clearing out one or two links you no longer need rather than doing a broader cleanup. The manager becomes worth opening once you’re dealing with more than a handful at a time, which tends to happen gradually and then all at once, usually right before you notice the bar has gotten too crowded to use.
One thing people sometimes expect but shouldn’t: deleting a bookmark doesn’t touch your browsing history, and the two aren’t connected in any way that affects the other. They’re stored and managed as entirely separate systems in Chrome, so clearing bookmarks won’t clean up your history and clearing history won’t remove your bookmarks, no matter how many times you visited a page before you decided to bookmark it. If it’s history you’re after rather than bookmarks, Chromebook browsing history: find and manage it covers that side of things on its own, with its own separate controls.
How Do You Delete Multiple Bookmarks on a Chromebook at Once?
Select more than one bookmark in the Bookmark Manager, then delete the whole selection in a single action instead of removing bookmarks one at a time. This is the fix once your list has drifted past a dozen dead, duplicate, or simply forgotten links that no longer earn their place.
- Open the Bookmark Manager. Press Ctrl+Shift+O.
- Select the bookmarks you want gone. Hold Ctrl and click each one individually, or hold Shift to grab a continuous range in one motion.
- Delete the selection. Every bookmark you selected is removed at once, rather than requiring a separate confirmation for each.
Bookmarks and history are separate. Deleting bookmarks in bulk has no effect on your browsing history, and deleting history has no effect on your bookmarks — Chrome keeps the two lists apart entirely. If you’re cleaning up both, plan on doing it in two separate passes rather than expecting one to handle the other.
A bulk cleanup is a good habit to build every few months rather than something you only do in a panic once the bar is unusable. It matters even more on a shared Chromebook, where several people have likely been adding to the same bar without coordinating, and where old bookmarks from a previous school year or a finished project just sit there taking up space nobody notices until it’s crowded. It’s also worth doing right before you export a backup, covered next, so you’re not backing up a list that’s half broken links and half things you meant to delete months ago.
How Do You Set Up a Simple Bookmark Folder System for School or Work?
Build two or three broad top-level folders first, then let subfolders form naturally as a topic needs them, rather than designing a complicated structure up front that you’ll abandon by week two. Most bookmark systems fail not because they’re too simple, but because they’re too elaborate to maintain.
A workable starting point for a school Chromebook looks like three folders: one per class or subject, one for “Reference” (sites you look things up in but don’t need daily), and one for anything administrative — school portal, email, grade tracker. For a work Chromebook, swap those for “Active projects,” “Tools,” and “Reference,” and move a bookmark out of “Active projects” the moment that project wraps, rather than letting finished work quietly accumulate next to what you’re using right now. The point of the system is to answer one question fast: where would future-you look first?
Inside each top-level folder, resist adding a third or fourth layer of nesting unless a single folder has genuinely grown too large to scan in a few seconds. Deep folder trees feel organized while you’re building them and become a maze the moment you’re trying to find something in a hurry, which is exactly when you need the system to work. A flat folder with fifteen well-named bookmarks beats three nested folders with five bookmarks each, almost every time.
Review at natural breakpoints. Tie your cleanup to something that already happens (the end of a semester, the close of a project, a new school year) rather than trying to remember to do it on a schedule. Folders that get reviewed at natural breakpoints stay useful; folders that don’t just keep growing.
This kind of light structure also makes the backup step easier, since an organized set of bookmarks exports into a file that’s usable later, instead of a flat dump you’ll have to re-sort from scratch on whatever device you’re using next.
Do Chromebook Bookmarks Survive a Powerwash or Reset?
Yes, if they’re synced to your signed-in Google Account — Google Account data isn’t stored on the device itself, so it survives a Powerwash even though the Powerwash wipes the local profile clean. Bookmarks that were never synced, and exist only in a local-only browsing profile, are erased along with everything else in that profile.
That distinction matters because a Powerwash is specifically a local wipe: it clears the Downloads folder, installed apps, and local settings, resetting the device back to factory state. It does not touch Google Drive files or anything sitting on external or USB storage, which is exactly why the destination you choose for a backup matters as much as making the backup at all. Recovery goes further still. It reinstalls ChromeOS and erases the entire drive, which Google’s own Chromebook recovery guide describes as more destructive than a Powerwash, since even downloaded files disappear along with it rather than just the local browser profile.
| Action | What happens | Locally-stored bookmarks/files | Google Account-synced bookmarks |
|---|---|---|---|
| Restart | Reboots ChromeOS; erases nothing | Untouched | Untouched |
| Powerwash | Wipes local data (Downloads, apps, settings) to factory state | Erased | Survive |
| Recovery | Reinstalls ChromeOS and erases the whole drive | Erased | Survive |
It’s also worth knowing that on a managed device (many school and work Chromebooks fall into this category) an administrator can disable Powerwash entirely, and users on those devices have to go through IT or their school rather than triggering it themselves. If you’re not sure which category your Chromebook falls into, that’s worth checking before you plan around either option.
How Do You Back Up Chromebook Bookmarks Before a Powerwash?
Turn on Chrome sync so your bookmarks live in your Google Account rather than only on the device, or export your bookmarks to an HTML file as a backup you control directly and can move wherever you like. Either approach works on its own; sync is the more hands-off option, export gives you a portable file you can put anywhere, including somewhere entirely outside Google’s ecosystem if that matters to you.
If you go the export route, where you put the file matters more than the export step itself. A Powerwash clears the Downloads folder along with everything else local, so an exported bookmarks file left sitting in Downloads gets wiped right along with the data you were trying to protect in the first place — which defeats the entire point of exporting it. Move or copy that file to Google Drive, an external drive, or another device before you reset, since Drive files and external storage are explicitly untouched by a Powerwash. The full export and import walkthrough lives in how to export and import Chrome bookmarks, and if you’re setting up a replacement machine afterward rather than reusing the same one, how to move Chrome bookmarks to a new computer picks up right where that leaves off.
That same Downloads-folder trap applies to more than just bookmarks, and it’s the reason the next section matters even if bookmarks were the only thing that brought you to this page.
Bookmarks vs Open Tabs: Why Bookmarks Alone Won’t Save Your Browsing Session
Bookmarks save a link to a page. They don’t remember which tabs you had open, how your windows were arranged, or which tab groups you’d carefully built before you closed the lid to run to class or a meeting. That’s a different problem entirely, and in practice it’s the one that causes the most genuine panic.
Picture the usual scenario: forty research tabs open the night before a deadline, three tab groups sorted by topic, one pinned tab with a half-finished form you were in the middle of filling out. None of that is a bookmark unless you stopped mid-task and manually saved each tab one at a time, which almost nobody does when they’re deep in something. Close the browser, restart the Chromebook, or run into an unexpected crash, and that entire layout is gone even though your bookmarks bar looks exactly the same as it did yesterday, untouched and unhelpful for the problem you have.
- Bookmarks. A saved link to a page, kept until you delete it, with no idea whether that page is currently open in a tab anywhere.
- A tab session. The actual set of windows, tabs, tab groups, and order you have open right now — your work in progress, not a permanent link.
The two aren’t competitors; they solve different problems and both deserve a place in how you work. Bookmarks are for pages you’ll want again someday. Sessions are for the state you’re in right now, mid-task, that you’d hate to lose to a crash or a closed lid. For tab loss specifically, rather than bookmark loss, Chromebook tabs: shortcuts, tab groups, and recovery and too many tabs? how to fix tab overload without losing anything are the more relevant reads. Mixing up which tool handles which is how people lose work they genuinely assumed was already saved somewhere.
How Does BelayTab Protect Your Tabs on a Chromebook?
BelayTab is a free extension that saves your open windows and tabs as named sessions you can restore later, which covers exactly the gap bookmarks leave open by design. One click, or Ctrl + Shift + S, saves a window (or selected tabs, a single tab, or every open window at once) with tab groups, names, colors, pinned tabs, and order all kept intact rather than flattened into a plain list of links.
It also runs without you doing anything once it’s set up: automatic snapshots capture every open window every 5 minutes, plus each time a window closes, with the last 20 versions of each session kept so restoring never overwrites what came before it, plus a 30-day trash for anything deleted on purpose or by accident. Restoring pulls everything back into a new window or the current one, and large sessions open in batches of 20 so the Chromebook isn’t stuck trying to load forty tabs simultaneously the moment you restore. All of that is detailed on the restore-tabs and save-tabs pages if you want the full breakdown of how saving and restoring work.
The reset caveat here is the same one that applies to bookmarks, and it’s worth taking seriously rather than assuming it won’t apply to you: BelayTab’s optional rolling export file writes to Downloads on a schedule, and a Powerwash erases Downloads along with everything else local on the device. If you’re about to reset, powerwash, or hand a Chromebook back to a school or an employer, either turn on Sync — $4 a month or $36 a year, with 90 days of cloud version history and access from app.belaytab.com even from a different device entirely — or move that export file over to Google Drive first, the same way you’d move a bookmarks export. Setup for Sync is covered in setting up Sync, and the export schedule itself lives in automatic export backups. Either way, your tabs and your bookmarks end up protected by the exact same principle: don’t leave your only backup sitting in a folder the reset is about to erase.
Start from the download page, and if you ever need to pull a session back (after a reset, a crash, or just a closed window you didn’t mean to close) the Recovery screen is where every snapshot, deleted session, and export file lives in one place, so you’re not hunting across several different menus to find what you’re looking for.